Pool Tile Installation Process: A Step-by-Step Guide
Posted by Mike Belk on Nov 21, 2025

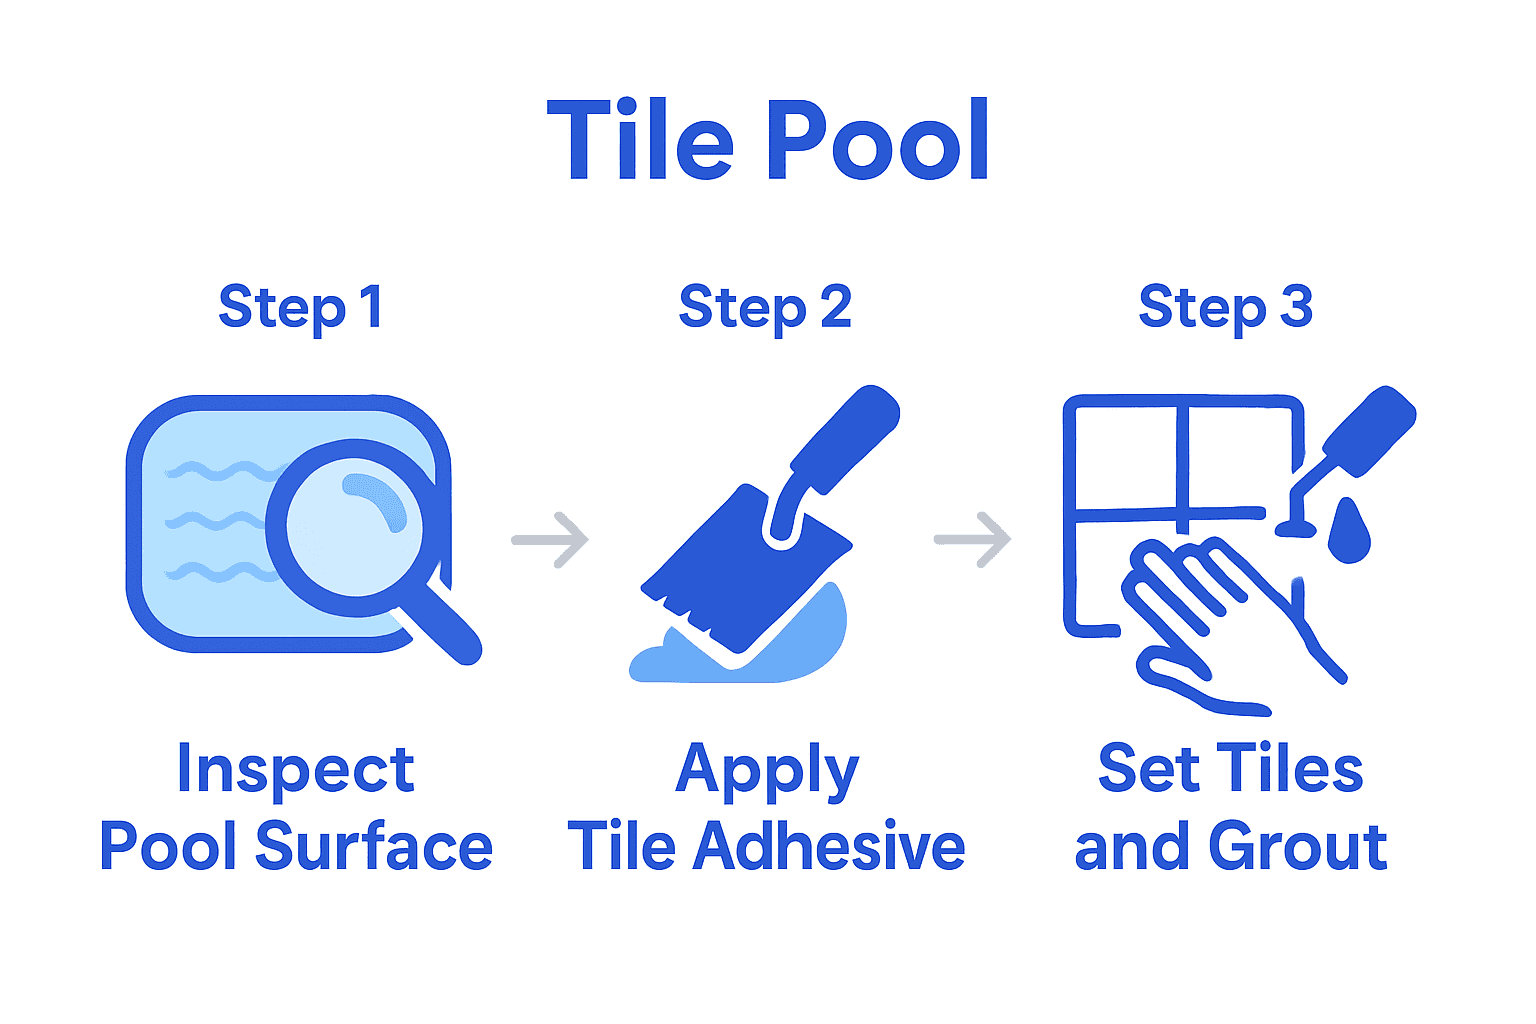
A flawless pool tile installation starts long before the first tile is set. Even the most stunning design can fail if the pool surface is not properly prepared, and experts report that poor prep is the cause behind over 60 percent of tile installation problems. Whether you are tackling a new build or updating an old pool, every phase from surface prep to final inspection matters for durability and style. This step-by-step guide walks you through the essential stages to ensure your pool tiles look beautiful and stay secure for years to come.
Table of Contents
- Step 1: Assess And Prepare The Pool Surface
- Step 2: Select And Arrange Your Pool Tiles
- Step 3: Apply Adhesive And Set Tiles Securely
- Step 4: Grout And Clean The Tiled Area
- Step 5: Inspect And Finish The Installation
Quick Summary
| Key Point | Explanation |
|---|---|
| 1. Assess pool surface thoroughly | Remove existing plaster to ensure a strong bond for new tiles and meticulously clean the substrate before installation. |
| 2. Choose suitable pool tiles | Opt for tiles specifically designed for underwater use, ensuring they are slip-resistant and visually appealing for safety and aesthetics. |
| 3. Use quality adhesive and follow guidelines | Apply waterproof adhesive designed for pools, following the manufacturer’s instructions to ensure proper tile placement and longevity. |
| 4. Grout carefully for a polished look | Use sanded, water-resistant grout, ensuring proper coverage in joints and allowing adequate curing time to prevent damage. |
| 5. Conduct a rigorous final inspection | Check tile placement and grout consistency, ensuring compliance with standards to maintain quality and durability of installation. |
Step 1: Assess and prepare the pool surface
Before diving into your pool tile installation project, you need to thoroughly assess and prepare the pool surface. This critical first step sets the foundation for a successful and long-lasting tile application. According to gulfshoresal.gov, proper surface preparation involves removing existing materials and creating an ideal bonding environment.
Begin by carefully inspecting your pool surface for any existing plaster or coating. You will want to remove this material to a depth of approximately 3/8 inch using methods like chipping or hydroblasting. As recommended by gulfshoresal.gov, secure and protect any main drain sumps, frames, or embedded fittings that cannot be removed during this process. Clean the substrate meticulously to eliminate loose debris or old materials that could compromise the new tile’s adhesion.
Once you’ve cleaned the surface, an important next step is acid washing the pool shell and neutralizing it before applying a bond coat. Pay close attention to the manufacturer’s specific instructions for this process. Pro tip: Always wear protective gear like safety glasses and gloves when working with acid or performing surface preparation to protect yourself from potential injuries.
Your pool surface is now primed and ready for the next stage of tile installation. Get ready to transform your pool into a stunning visual masterpiece.
Step 2: Select and arrange your pool tiles
Selecting and arranging pool tiles is a critical step that will define your pool’s visual appeal and functionality. According to theconstructor.org, you need to carefully consider multiple factors including material, color, size, and critical safety features.
Start by choosing tiles that are specifically designed for underwater environments. As recommended by kcha.org, consider standardized tile sizes like 2x2-inch step tiles and 6x6-inch waterline tiles. Look for tiles that are not just aesthetically pleasing but also slip resistant and durable. Pay special attention to depth markers should you want them, ensuring they are at least four inches tall and provide clear contrast against the background.
When arranging your tiles, think about creating visual interest while maintaining functionality. Experiment with different patterns and layouts that complement your pool’s overall design. A key tip is to lay out your tiles before permanent installation to preview the final look.
Remember that your pool tile selection is more than just decoration it is about creating a safe, beautiful swimming environment that will enhance your outdoor space for years to come.
Step 3: Apply adhesive and set tiles securely
With your pool surface prepared and tiles selected, it is time to apply adhesive and set your tiles with precision. According to gulfshoresal.gov, this step requires careful attention to detail and following manufacturer instructions for bond coat application.
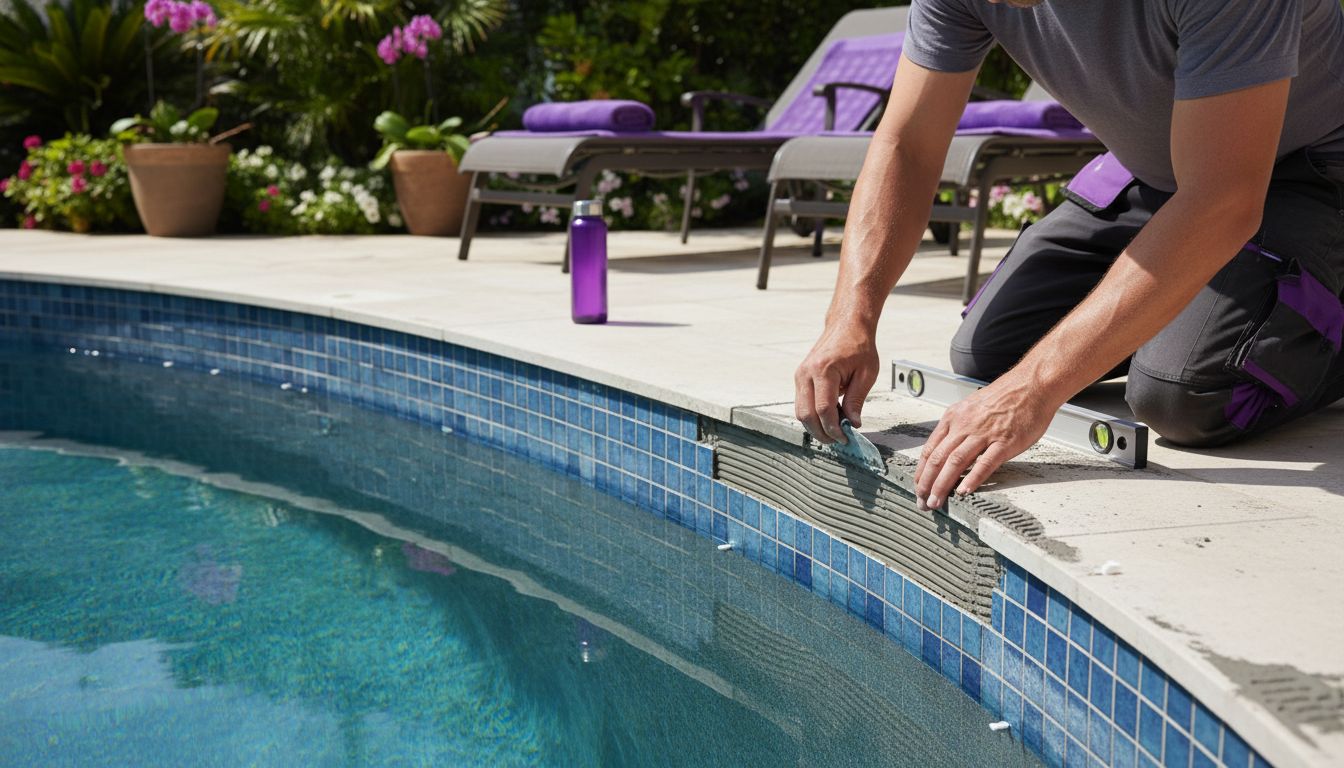
Start by selecting a high-quality waterproof tile adhesive specifically designed for underwater environments. As recommended by kcha.org, pay close attention to ANSI A108 Series specifications for tile installation. Apply the adhesive evenly using a notched trowel, working in small sections to prevent the adhesive from drying before tile placement. When setting tiles, press them firmly and use spacers to maintain consistent gaps for grouting.
Carefully cut and drill tiles as needed, ensuring you do not mar the visible surface. Check out our guide on tile installation tips for perfect results to help you navigate this precise process. Pro tip: Always grind cut tile edges when they abut trim or built-in items, and ensure a tight fit around fixtures like electrical outlets and piping.
Once your tiles are securely set, you will be ready to move on to the grouting stage where your pool transformation truly begins to take shape.
Step 4: Grout and clean the tiled area
Grouting is the final transformative step that will bring your pool tile installation together and create a polished professional look. According to gulfshoresal.gov, this process requires careful application to ensure a seamless finish.
Select a high quality sanded grout that is water resistant and matches your tile design. As recommended by kcha.org, apply the grout while carefully following ANSI A108.10 standards. Use a rubber float to press grout firmly into tile joints at a 45-degree angle, ensuring complete and even coverage. Work in small sections and remove excess grout with a damp sponge before it completely dries.
Learn the nuanced techniques for cleaning and maintaining your new tile grout to preserve its appearance and durability. Pro tip: Allow the grout to cure for at least 48 hours before exposing it to water or heavy traffic. This waiting period ensures a strong bond and prevents premature cracking or discoloration.

With grouting complete, your pool tile installation is almost ready to make a splash.
Step 5: Inspect and finish the installation
Now that you have completed the tile installation, it is time to conduct a meticulous final inspection to ensure your pool tile project meets the highest quality standards. According to gulfshoresal.gov, this critical step involves carefully examining the entire tiled area to confirm that every tile is perfectly positioned.
Begin your inspection by systematically checking each tile for secure placement and consistent grout lines. As recommended by kcha.org, verify that the installation complies with ANSI and TCA standards. Look closely for any loose tiles, uneven surfaces, or grout inconsistencies. Use good lighting and move around the pool perimeter to catch subtle imperfections that might be missed at first glance. Get expert insights on maintaining your newly installed tiles with our comprehensive guide to help you preserve your pool tile investment.
Pro tip: Allow the grout to cure completely according to the manufacturer’s recommendations before filling the pool. This patience will ensure a durable and beautiful finish that will withstand years of swimming and enjoyment. Your pool tile installation is now complete and ready to transform your outdoor space.
Elevate Your Pool Tile Installation with Premium Solutions From BELK Tile
Installing pool tiles involves careful preparation, precise installation, and choosing the right materials to ensure safety and long-lasting beauty. The process can feel overwhelming from assessing the pool surface to grouting, especially when you want visually stunning and durable results. At BELK Tile, we understand that selecting tiles designed specifically for underwater use combined with expert guidance is key to a flawless finish and peace of mind.
Whether you seek glass mosaic or natural stone tiles that meet your design vision and functional needs, BELK Tile offers a vast collection with detailed specifications so you can choose confidentally. Our platform lets you explore tiles by type, style, and application to find the perfect match. Ready to transform your pool into a masterpiece that stands the test of time Discover elegant, slip-resistant pool tiles curated just for you. Start your project now by visiting our pool tile options page. Make your investment count with the right products from BELK Tile and experience the difference quality materials bring to every step of your pool tile installation.
Frequently Asked Questions
How do I prepare my pool surface before tile installation?
To prepare your pool surface, remove existing plaster or coating to a depth of approximately 3/8 inch using chipping or hydroblasting. Clean the substrate thoroughly to eliminate loose debris, and then perform an acid wash to ensure proper adhesion before applying the bond coat.
What should I consider when selecting pool tiles?
When selecting pool tiles, consider factors such as material, color, size, and safety features like slip resistance. Opt for tiles specifically designed for underwater environments, and ensure size compatibility for your pool area.
How do I properly apply adhesive for pool tiles?
Apply a high-quality waterproof tile adhesive using a notched trowel, working in small sections. Ensure an even application, and press tiles firmly into the adhesive while using spacers for consistent grout gaps.
What are the steps to grout my pool tiles?
Select a high-quality sanded grout and apply it using a rubber float at a 45-degree angle to press it into the tile joints. Remove excess grout with a damp sponge before it dries to ensure a clean finish across the installation.
How can I ensure my pool tile installation is up to standard?
Conduct a final inspection by checking each tile for secure placement and consistent grout lines. Verify compliance with installation standards, looking for any loose tiles or uneven surfaces to address before filling your pool.
How long should I wait after grouting my tiles before filling the pool?
Allow the grout to cure for at least 48 hours before filling the pool with water. This waiting period ensures the grout achieves a strong bond and minimizes risks of cracking or discoloration.


