Master How to Cut Mosaic Tiles for Perfect Results
Posted by Mike Belk on Sep 11, 2025

Cutting mosaic tiles can seem intimidating, especially when you want every tiny piece to fit just right. And yet, using the wrong tool can cause up to 50 percent more tile breakage compared to recommended methods. Most people think it is all about raw force or quick cuts, but it turns out precision, careful marking, and the right equipment matter way more than speed. There is a whole science behind getting those perfect mosaic tile edges and you are about to see why the smallest details make the biggest difference.
Table of Contents
- Step 1: Gather Your Tools And Materials
- Step 2: Measure And Mark Your Tiles
- Step 3: Choose The Right Cutting Method
- Step 4: Cut The Tiles Accurately
- Step 5: Smooth Edges And Verify Cuts
Quick Summary
| Key Point | Explanation |
|---|---|
| 1. Gather essential cutting tools | Use high-quality tile nippers and a wet saw for precise mosaic cuts. Proper tools ensure clean edges and a professional appearance. |
| 2. Measure accurately before cutting | Take precise measurements and mark tiles clearly using a fine-point tool. Double-checking avoids mistakes and saves materials. |
| 3. Use appropriate cutting methods | Different tile types require specific cutting techniques; nippers for small cuts and wet saws for straight cuts provide better control. |
| 4. Smooth tile edges after cutting | Use tile files to refine rough edges, ensuring a polished finish that enhances the overall look of the mosaic. |
| 5. Verify tile placement before installation | Temporarily arrange tiles to check alignment and spacing. Adjustments during this stage improve the final design’s visual harmony. |
Step 1: Gather Your Tools and Materials
Cutting mosaic tiles requires precision, preparation, and the right equipment to achieve professional results. Before diving into the actual cutting process, assembling your tools and materials will set the foundation for a successful project. Safety and proper preparation are critical when working with delicate mosaic tiles.
Essential Tools for Tile Cutting
The tools you select can make a significant difference in the quality of your mosaic tile cuts. You will need a combination of specialized and standard tools to ensure clean, accurate cuts. Start by gathering high-quality tile nippers, which are specifically designed for precise mosaic tile cutting. These tools allow you to make small, controlled cuts that are essential for intricate mosaic designs.
In addition to tile nippers, you will want a wet saw with a diamond blade for more complex or straight cuts. While professional contractors often use wet saws, many home improvement stores offer tool rentals if you do not want to purchase one outright. Our guide on metal mosaic tile installation provides additional insights into specialized cutting techniques.
Other necessary tools include measuring tape, a pencil for marking, safety glasses, work gloves, and a flat, stable work surface. The National Safety Council recommends always wearing protective equipment when working with cutting tools to prevent potential injuries.
Your essential tool list should include:
- Tile nippers
- Wet saw with diamond blade
- Measuring tape
- Marker or pencil
- Safety glasses
- Work gloves
- Sturdy work surface
Before beginning your mosaic tile cutting project, take time to inspect each tool. Ensure your tile nippers have sharp, clean cutting edges and that the wet saw blade is in excellent condition. Dull or damaged tools can lead to uneven cuts and potentially damage your tiles.
Preparing your workspace is just as important as selecting the right tools. Choose a well-ventilated area with ample lighting and a clean, flat surface. Spread out a protective drop cloth to catch tile fragments and make cleanup easier. By methodically gathering your tools and setting up your workspace, you are laying the groundwork for precise, beautiful mosaic tile cuts.
The table below summarizes the essential tools needed for cutting mosaic tiles, along with their specific uses and any helpful details mentioned in the article.
| Tool | Purpose | Notes |
|---|---|---|
| Tile nippers | Precise, controlled cuts for mosaics | Ideal for small, intricate adjustments |
| Wet saw with diamond blade | Smooth, straight cuts on larger pieces | Reduces chipping; rentals available |
| Measuring tape | Accurate measurement of tile and layout | Use a metal ruler for best results |
| Marker or pencil | Marking cutting lines on tile surface | Fine-point and sharp for precision |
| Safety glasses | Protect eyes from tile fragments | Critical for all cutting tasks |
| Work gloves | Hand protection during cutting | Required for glass or sharp tiles |
| Sturdy work surface | Provides stability and safety | Choose flat, clean, well-lit area |
Step 2: Measure and Mark Your Tiles
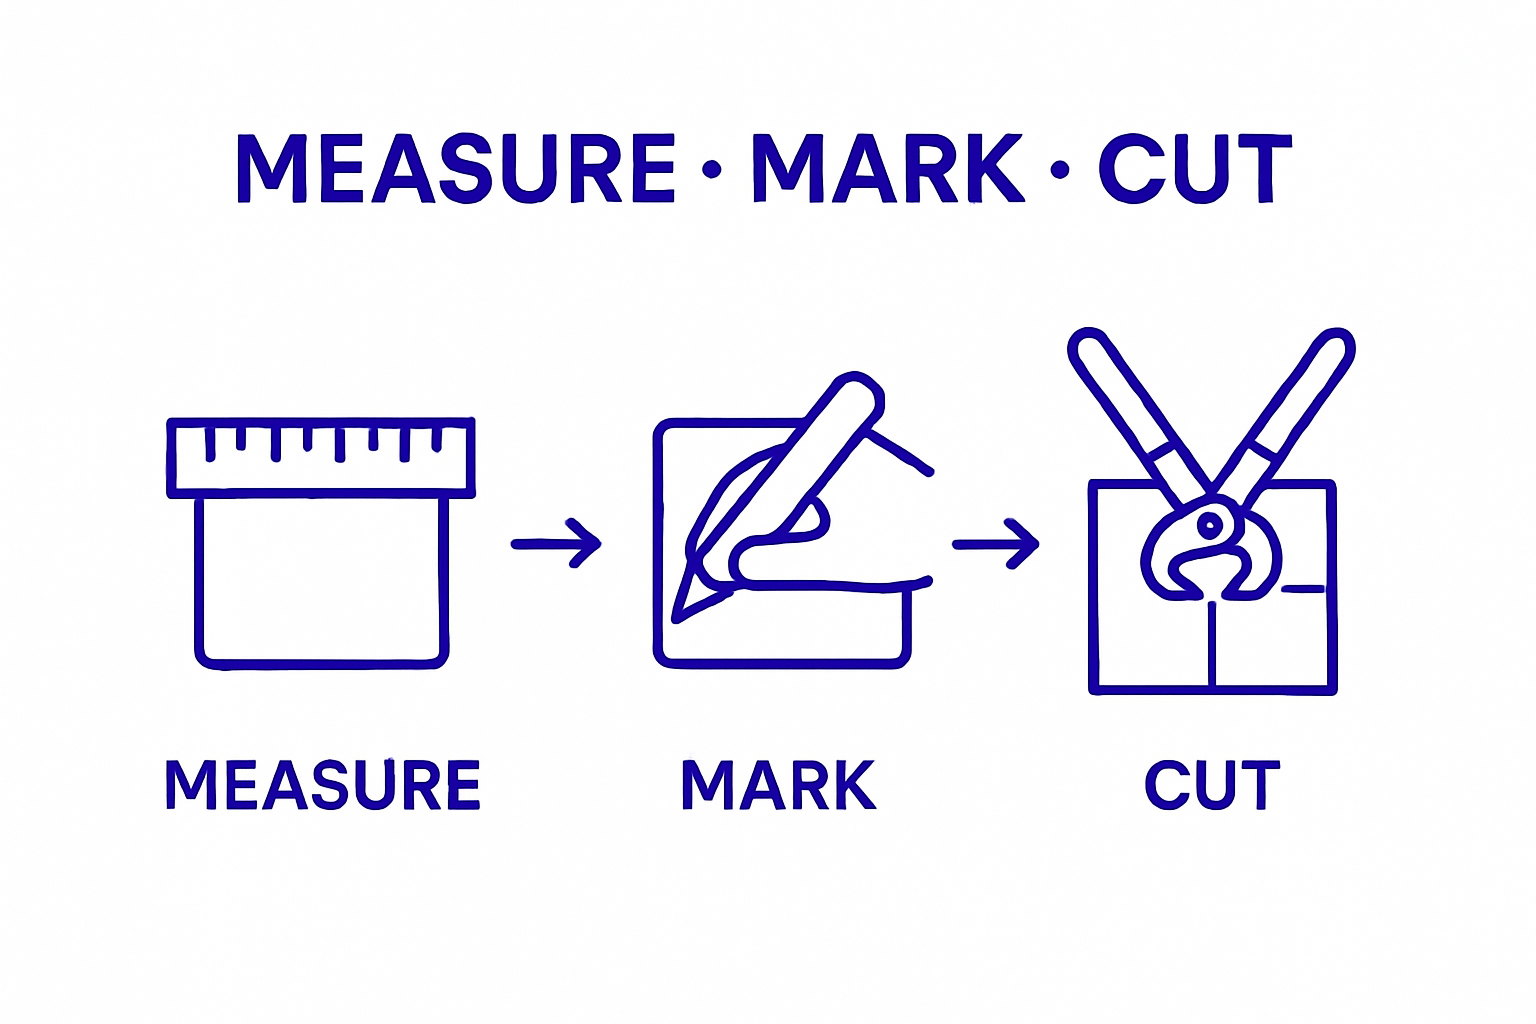
Precision is the cornerstone of successful mosaic tile cutting, and measuring and marking your tiles accurately will determine the overall quality of your final design. Careful measurement prevents costly mistakes and ensures your mosaic project looks professional and seamless.
Begin by laying out your mosaic design on a flat surface, using your preliminary sketch or design plan as a guide. Place your tiles loosely to visualize the pattern and understand how individual pieces will need to be cut. Measure twice, cut once is a cardinal rule in tile work that will save you time and materials.
Using a sharp pencil or ceramic marker, mark your cutting lines directly on the tile surface. These marks should be clear but thin, allowing for precise cutting. When working with glass or ceramic mosaic tiles, use a light touch to avoid chipping the delicate surface. How to Install a Glass Tile Backsplash Mosaic provides additional insights into handling delicate tile materials.
Measurement techniques vary depending on your specific mosaic design, but some universal principles apply. Always measure from the center point of your design outward, which helps maintain symmetry and balance. Use a metal ruler or measuring tape with clear markings, and ensure your measuring tool is perfectly straight against the tile surface.
For complex cuts or irregular shapes, create a paper template that matches the exact space where the tile will be placed. Trace this template onto your tile, giving you a precise cutting guide. This method is especially useful for curved edges or tiles that need to fit around obstacles like electrical outlets or architectural features.
Key measurement considerations include:
- Always use a sharp, fine-point marking tool
- Measure from multiple reference points
- Double-check measurements before cutting
- Create paper templates for complex shapes
- Allow for slight grout line variations
The National Institute of Standards and Technology emphasizes the importance of precision in measurement across various fields, a principle that directly applies to mosaic tile work. By taking your time during the measuring and marking phase, you set yourself up for success in the cutting and installation stages.
Verify your measurements by stepping back and visually confirming that your marked tiles align with your overall design plan. A moment of careful review can prevent significant errors and ensure your mosaic tiles will fit perfectly in their intended space.
Step 3: Choose the Right Cutting Method
Selecting the appropriate cutting method is crucial for achieving clean, precise mosaic tile cuts that will elevate your entire project. Different tile materials and design complexities require specific cutting approaches, making it essential to understand the strengths and limitations of each technique.
For smaller mosaic tiles and intricate designs, tile nippers remain the most versatile tool. These handheld tools allow for incredibly precise cuts, enabling you to create curved edges, irregular shapes, and small adjustments that other cutting methods cannot achieve. When using tile nippers, apply gentle, controlled pressure to avoid cracking or chipping the tile. Hold the nipper at a slight angle and make multiple small cuts rather than attempting to remove large sections in one motion.
When working with larger tiles or straight cuts, a wet saw with a diamond blade becomes your primary cutting instrument. Wet saws provide smooth, clean cuts and help prevent tile dust and potential chipping. The water cooling system reduces friction and keeps the blade and tile at an optimal temperature during cutting. How to Choose Kitchen Tiles: A 2025 Guide for Homeowners offers additional insights into selecting and working with different tile types.
Consider these critical factors when choosing your cutting method:
- Tile material (glass, ceramic, stone)
- Thickness of the tile
- Complexity of your design
- Required cut precision
- Available tools and equipment
For glass mosaic tiles, which are particularly delicate, use specialized glass tile nippers with carbide-tipped blades. These tools provide sharper, more controlled cuts that minimize the risk of shattering. Work slowly and deliberately, scoring the tile surface before making your final cut. Always wear safety glasses and work gloves to protect yourself from potential tile fragments.
The Museum of Fine Arts recommends practicing your cutting technique on spare tiles before starting your actual project. This approach allows you to develop muscle memory, understand how different tiles respond to cutting, and build confidence in your technique.
To verify you have chosen the right cutting method, assess your initial test cuts. Look for clean edges, minimal chipping, and cuts that match your design specifications. A successful cut should have smooth lines with no jagged or uneven sections. If your test cuts do not meet these criteria, adjust your technique or consider switching to a different cutting tool that better suits your specific mosaic tile material.
This table compares the two main mosaic tile cutting methods described in the article, highlighting their best uses, advantages, and notes for optimal results.
| Cutting Method | Best For | Advantages | Notes |
|---|---|---|---|
| Tile nippers | Small cuts, curves | High precision, handheld control | Use multiple small cuts, avoid forceful breaks |
| Wet saw with diamond blade | Straight, long cuts | Smooth, clean edges | Minimizes dust, prevents chipping, water cooled |
| Glass tile nippers | Delicate glass mosaics | Sharp, controlled cuts | Carbide-tipped blades, ideal for fragile materials |
Step 4: Cut the Tiles Accurately
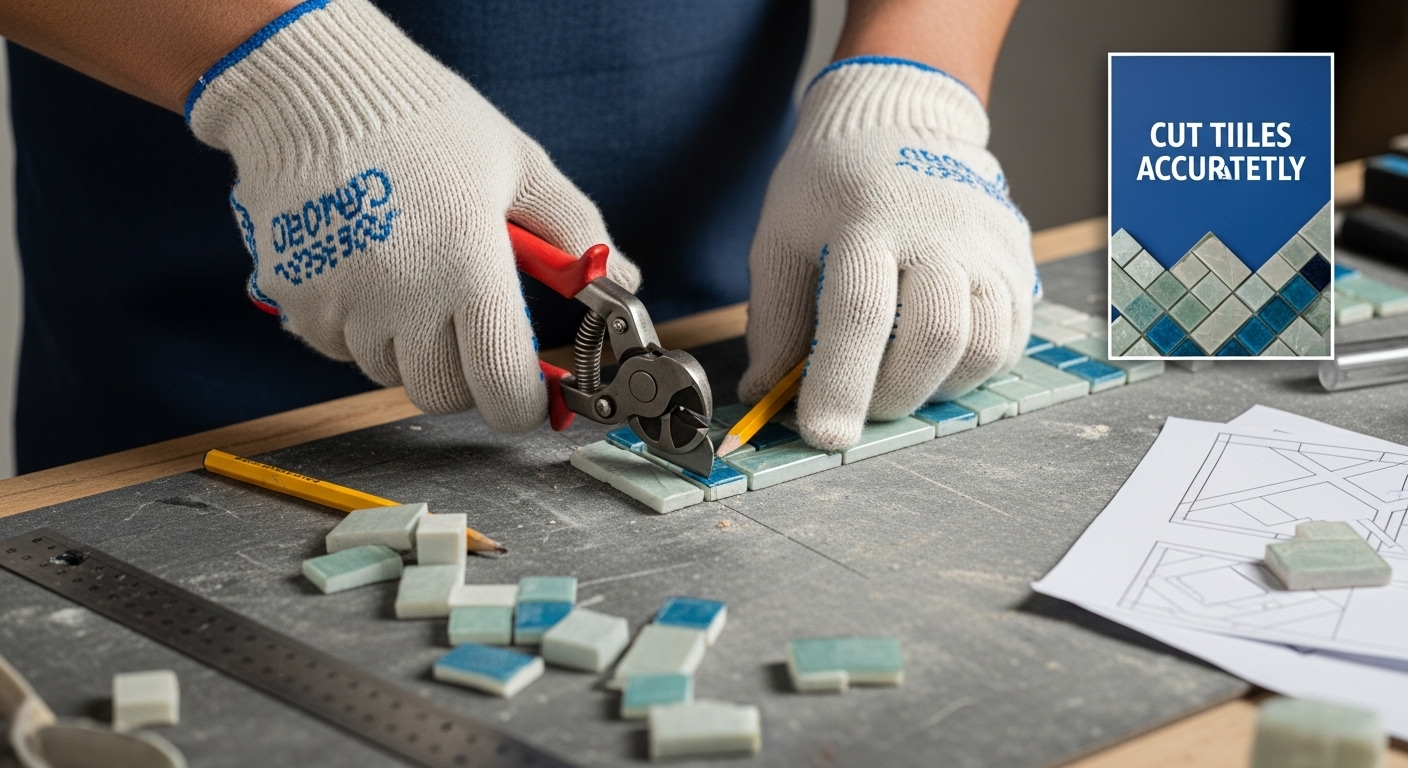
Accurate tile cutting is the heart of creating a stunning mosaic design, transforming your carefully planned vision into a tangible work of art. Precision is paramount when working with delicate mosaic tiles, requiring a combination of technical skill, patience, and the right technique.
Begin by positioning your tile securely on a stable work surface, ensuring it does not move during cutting. When using tile nippers, approach the tile with a gentle but firm grip. Hold the nippers at a 45-degree angle to create smoother edges and prevent unexpected chipping. Make small, controlled nibbles rather than attempting to remove large sections at once. This technique allows for more precise cuts and reduces the risk of shattering your tile.
For straight cuts using a wet saw, align the tile carefully against the guide, maintaining consistent pressure and a steady hand. Move the tile through the blade slowly and deliberately, allowing the diamond-tipped blade to do the work. The water cooling system helps prevent overheating and provides a smoother cutting surface. A Complete Guide to Removing, Replacing and Laying Tiles offers additional insights into tile handling techniques.
Consider these critical cutting strategies:
- Always wear safety glasses
- Use light, consistent pressure
- Make multiple small cuts instead of large ones
- Support the tile’s edges during cutting
- Work in a well-lit, clean area
Special attention is required when cutting glass or particularly delicate mosaic tiles. These materials demand an even more gentle approach. Use specialized glass tile nippers with carbide-tipped blades, which provide sharper, more controlled cuts. Before making your final cut, lightly score the tile’s surface to create a guided breaking point. This technique helps prevent unexpected shattering and ensures a cleaner edge.
The Museum of Fine Arts recommends practicing your cutting technique on spare tiles to develop muscle memory and understand how different materials respond to cutting. This practice will help you gain confidence and improve your precision.
To verify the accuracy of your cuts, carefully examine each tile after cutting. Look for clean, smooth edges without significant chipping or uneven sections. Each tile should fit seamlessly with its neighboring pieces, creating a uniform and professional-looking mosaic. If a cut does not meet your standards, do not hesitate to discard the tile and start again. Patience and attention to detail are the hallmarks of a beautiful mosaic design.
Step 5: Smooth Edges and Verify Cuts
After cutting your mosaic tiles, the refinement process becomes crucial in achieving a professional and polished final design. Smoothing tile edges and meticulously verifying each cut will determine the overall quality and aesthetic appeal of your mosaic project.
Begin by examining each cut tile under good lighting, checking for any rough or jagged edges that could compromise the integrity of your design. Use a tile file or rubbing stone to gently smooth these imperfections. Hold the file at a slight angle and move it consistently along the tile’s edge, removing small chips and creating a uniform surface. Work carefully to avoid applying too much pressure, which could cause additional chipping or damage to the tile.
For glass or more delicate mosaic tiles, consider using a diamond-coated hand file that provides more precision and gentler abrasion. These specialized tools allow you to refine edges with minimal risk of breakage. Move the file in one direction, creating smooth, consistent strokes that gradually wear down any sharp or uneven sections.
Key considerations for edge refinement include:
- Use light, consistent pressure
- Work in a well-ventilated area
- Wear safety glasses
- Check edges from multiple angles
- Clean tiles after filing to remove dust
Verification is a critical step in ensuring your mosaic tiles will fit perfectly. How to Install Glass Mosaic Tile in a Pool provides additional insights into precise tile placement. Lay out your cut tiles temporarily, checking how they align and interact with surrounding pieces. Look for consistent spacing, smooth transitions between tiles, and overall design harmony.
The Ceramic Tile Education Foundation recommends evaluating tile cuts by ensuring that grout joints remain uniform and that cut edges align seamlessly. Measure the spaces between tiles, confirming they maintain a consistent width. Slight variations can disrupt the visual flow of your mosaic design.
To thoroughly verify your cuts, create a test layout before final installation. Arrange tiles without adhesive, stepping back periodically to assess the overall composition. Look for tiles that might need additional trimming or refinement. This process allows you to make final adjustments, ensuring each piece contributes to a cohesive and visually stunning mosaic. Remember, patience during this verification stage will dramatically improve your final result.
Turn Your Mosaic Dreams into Flawless Reality with BELK Tile
If cutting mosaic tiles has ever felt overwhelming or you are stressed about achieving perfect, chip-free results, you are not alone. This article outlined key challenges like precise cutting, choosing the right tools, and ensuring a seamless final fit. You have learned step-by-step techniques, but even with new skills, finding the right mosaic tile for your project can still hold you back. Achieving professional, beautiful cuts starts with high-quality materials crafted for smooth installation.
Let BELK Tile help you reach your design goals with a curated selection of glass, ceramic, and specialty tiles, each detailed for style and ease of installation. Explore our gallery for visual inspiration and find expertly crafted tiles ready for any mosaic project. Visit BELK Tile now to elevate your DIY results. Do not settle for less—start shopping today to create your perfect mosaic finish.
Frequently Asked Questions
How do I prepare my workspace for cutting mosaic tiles?
To prepare your workspace, choose a well-ventilated area with ample lighting and a clean, flat surface. Spread out a protective drop cloth to catch tile fragments and make cleanup easier.
What tools do I need for cutting mosaic tiles?
Essential tools include tile nippers for precise cuts, a wet saw with a diamond blade for larger cuts, a measuring tape, a pencil for marking, safety glasses, work gloves, and a sturdy work surface.
What is the best method for cutting glass mosaic tiles?
For cutting glass mosaic tiles, use specialized glass tile nippers with carbide-tipped blades for sharper, more controlled cuts. Score the tile surface lightly before making your final cut to minimize the risk of shattering.
How can I ensure my tile cuts are accurate and clean?
To ensure accuracy, measure and mark your tiles carefully, double-check all measurements, and use gentle pressure when cutting. After cutting, examine each tile for rough edges and smooth them as needed using a tile file or rubbing stone.
Recommended


