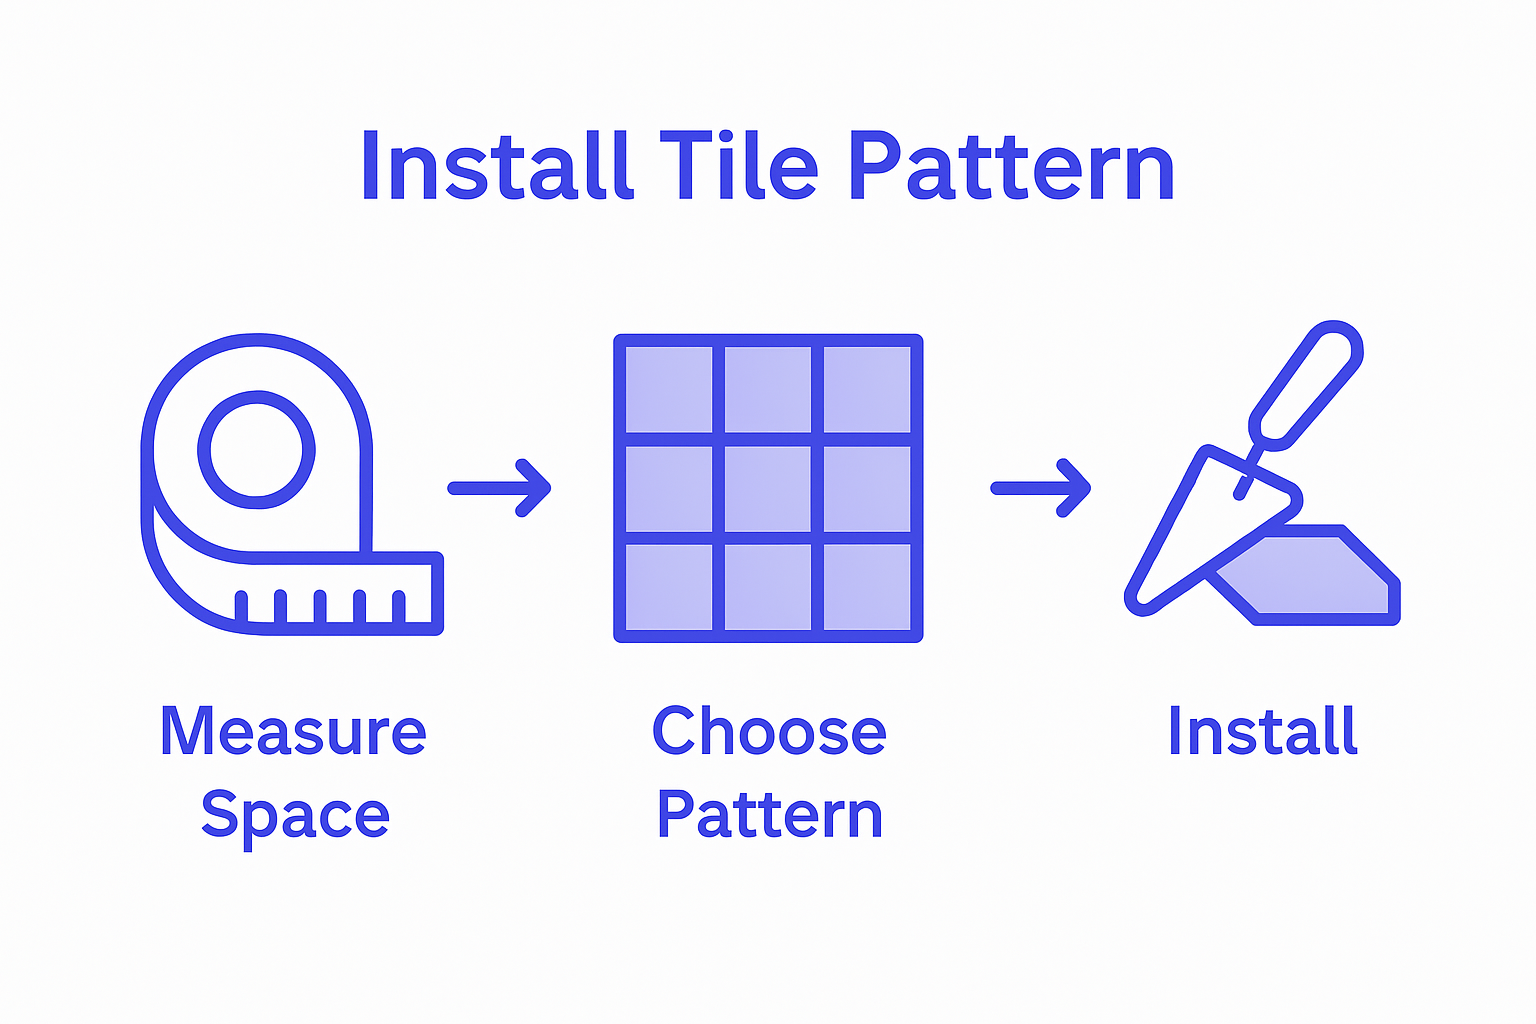
Step-by-Step Guide to Tile Patterns for Modern Spaces
Posted by Mike Belk on Dec 12, 2025

Every American homeowner who has tackled a tile project knows just how quickly excitement can turn into confusion. Nearly 50 percent of renovation errors stem from poor planning or misjudged space requirements. Choosing the right tiles and patterns matters far beyond style. The decisions you make at the very start will shape the outcome and longevity of your investment. With clear guidance, you can move from hesitation to confident, beautiful results that truly elevate your space.
Table of Contents
- Step 1: Assess Space and Define Design Objectives
- Step 2: Select Suitable Tile Pattern for Your Project
- Step 3: Plan Tile Layout and Gather Materials
- Step 4: Install Tiles and Ensure Accurate Alignment
- Step 5: Verify Pattern Consistency and Finish Edges
Quick Summary
| Key Insight | Explanation |
|---|---|
| 1. Assess Your Space Thoroughly | Measure dimensions and note architectural features to guide tile choices effectively. Understanding your room’s characteristics is crucial for a successful design. |
| 2. Choose the Right Tile Pattern | Select patterns based on room size; simpler patterns work better in small spaces, while larger rooms can accommodate complex designs for visual appeal. |
| 3. Plan Layout Before Installation | Create a detailed layout using sketches or tape to visualize tiles’ arrangement, ensuring accurate placement and minimizing waste before purchasing materials. |
| 4. Maintain Alignment During Installation | Use spacers and frequently check alignment to prevent uneven surfaces. Small misalignments can lead to significant visual issues if not caught early. |
| 5. Finalize with Edges and Sealing | Pay attention to the finishing off edges with trim pieces or bullnose tiles for a polished look and protection against wear, enhancing overall design continuity. |
Step 1: Assess Space and Define Design Objectives
Before diving into tile patterns, you need a solid game plan for understanding your space and design goals. Think of this stage as creating a blueprint for your tile transformation. Space assessment techniques from quantitative design research emphasize the critical importance of evaluating your room’s unique characteristics before selecting any tiles.
Start by measuring your space precisely. Pull out a tape measure and document the exact dimensions of your floor or wall area. Note architectural elements like windows, doors, built in fixtures, and any unusual angles or corners. Sketch a rough floor plan or use digital design tools to create a visual representation. Consider the room’s primary function because this will significantly influence your tile pattern and material choices. A kitchen backsplash requires different considerations than a bathroom floor or an outdoor patio.
Pro tip: Light matters. Observe how natural and artificial light interact with your space at different times of day. Some tile patterns and colors will look dramatically different depending on lighting conditions. For instance, a herringbone pattern might create stunning visual depth in a well lit room but could feel overwhelming in a smaller space with limited illumination.
Your next step will involve selecting specific tile materials and exploring potential pattern layouts that complement your room’s architectural characteristics and design objectives. Project design resources can provide additional template guidance to help you refine your vision and make confident design decisions.
Step 2: Select Suitable Tile Pattern for Your Project
Choosing the right tile pattern transforms your space from ordinary to extraordinary. Understanding how different patterns interact with your room’s architectural elements is key to creating a stunning visual design. Algorithmic design principles offer sophisticated approaches to pattern selection, helping you make strategic choices that enhance your overall aesthetic.
Start by analyzing your room’s proportions and characteristics. Smaller spaces benefit from simpler patterns like straight lay or grid designs that create a sense of openness. Larger rooms can handle more complex arrangements such as herringbone, chevron, or intricate geometric patterns. Consider the visual weight of each pattern and how it will impact the perceived size and mood of your space. A detailed analysis of complex two-level tile patterns reveals how strategic design can dramatically influence spatial perception.
Pro tip: Always purchase 10-15% extra tiles beyond your calculated square footage. Complex patterns like diagonal or intricate geometric designs require more precise cutting and may result in more waste. This buffer ensures you have replacement tiles and prevents potential installation delays.
With your pattern selected, you are now ready to explore specific tile materials that will complement your chosen design and bring your vision to life. Your next step involves understanding how different tile materials interact with your selected pattern to create a cohesive and stunning final result.
Step 3: Plan Tile Layout and Gather Materials
Successful tile installation begins with meticulous planning and preparation. Government guidelines for tile installation emphasize the importance of comprehensive material gathering and strategic layout design before starting your project.
Start by creating a detailed layout sketch that accounts for every aspect of your space. Measure your area precisely and mark key architectural features like windows, doorways, and permanent fixtures. Consider tile orientation carefully some patterns look dramatically different when rotated 45 degrees. Create a practice layout using painter’s tape on the floor to visualize how your chosen pattern will look before purchasing materials. This step helps you understand how tiles will align and where cuts might be necessary.
Pro tip: Always purchase materials from the same production batch to ensure color consistency. Tiles can vary slightly between manufacturing runs, which might create noticeable color variations in your final installation. Design activity guides recommend purchasing 10% extra tiles beyond your calculated square footage to account for cuts, breakage, and future replacements.
With your layout planned and materials gathered, you are now prepared to begin the exciting process of transforming your space through strategic tile installation. Your next step involves preparing the surface and understanding the precise installation techniques for your chosen tile pattern.
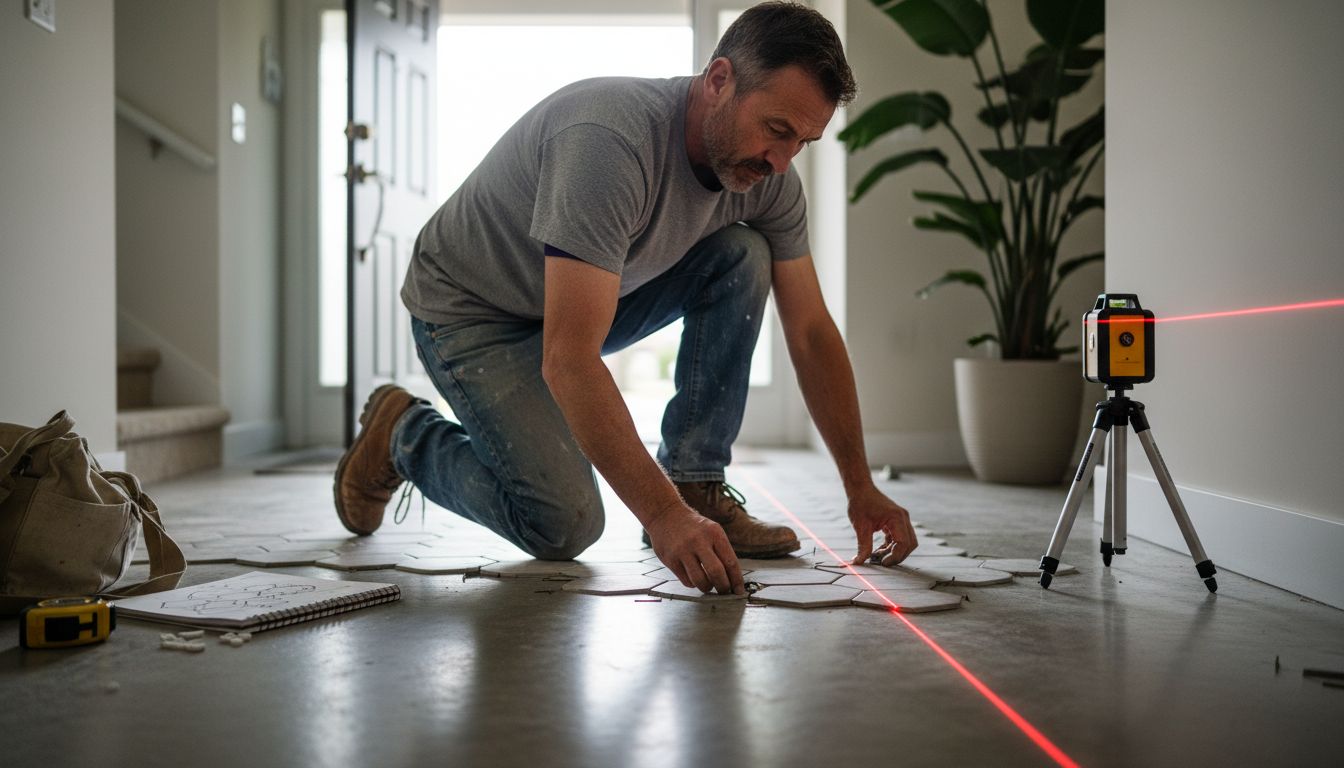
Step 4: Install Tiles and Ensure Accurate Alignment
The moment of truth has arrived where your carefully planned design transforms from concept to reality. Government preservation guidelines offer critical insights into precise tile installation techniques, emphasizing the importance of accuracy and methodical approach during the installation process.
Begin by preparing your surface with a smooth mortar layer using a notched trowel. Spread the mortar evenly and create consistent ridges to ensure proper tile adhesion. Start laying tiles from the center of the room and work outwards to maintain symmetry and minimize cutting requirements. Advanced geometric tiling techniques recommend using spacers to maintain uniform gaps between tiles and create precise alignment. Press each tile gently but firmly into the mortar ensuring level placement and removing any excess material.
Pro tip: Check your alignment frequently using a long level or laser level. Small deviations can compound quickly and result in a visually uneven surface. Work in small sections and double check your progress to catch and correct any misalignments early in the installation process.
With your tiles carefully installed and aligned, you are now ready for the final stages of your tile transformation. The next step involves grouting and sealing to protect and enhance your newly installed tile surface.
Step 5: Verify Pattern Consistency and Finish Edges
With your tiles installed, the final critical phase involves ensuring visual perfection and professional finish. Advanced tiling methods reveal sophisticated techniques for maintaining pattern precision that separate amateur installations from professional masterpieces.
Begin by stepping back and examining your entire surface from multiple angles and lighting conditions. Look for subtle variations in alignment, spacing, and pattern flow. Pay special attention to edges and transitions where cutting tiles requires precision. Complex tile pattern research demonstrates the importance of maintaining visual continuity, particularly around architectural features like corners, doorways, and fixtures. Use a wet saw for clean cuts and ensure each trimmed tile maintains the integrity of your original design.
Pro tip: Create seamless edge transitions by selecting matching trim pieces or bullnose tiles that complement your primary tile selection. These finishing elements not only provide a polished look but also protect tile edges from chipping and wear. Take your time during this final stage letting precision guide your work rather than rushing to completion.
With your pattern verified and edges beautifully finished, you have successfully transformed your space through thoughtful tile design and meticulous installation. The final step involves protecting your new surface through proper sealing and ongoing maintenance.
Transform Your Space with Confidence Using BELK Tile
Choosing the perfect tile pattern and material can feel overwhelming when aiming for a flawless, modern space. Whether you are striving for the elegant precision of a herringbone layout or the clean simplicity of a straight lay design, understanding how to plan, measure, and install your tiles with meticulous alignment is critical. This guide highlights common challenges like maintaining pattern consistency, precise cutting for edges, and securing materials from the same batch to avoid color mismatch — all crucial for achieving professional results.
At BELK Tile, we understand these pain points and provide a seamless solution that brings your vision to life. Explore our wide selection of high-quality ceramic and porcelain tiles along with specialty options such as glass mosaic and natural stone designed to suit diverse patterns and design goals. Our detailed product listings with images and specs help you select the right tile for your layout. Start planning your project today by visiting BELK Tile’s homepage to discover the perfect tiles for bathroom backsplashes, kitchen floors, or outdoor patios. Don’t wait to create a stunning space where every tile fits perfectly and lasts beautifully.
Frequently Asked Questions
What are the first steps to assess my space for tile patterns?
Before you choose any tiles, measure your space accurately, including architectural features like windows and doors. Create a rough sketch or use a digital tool to visualize your layout and consider the room’s primary function to guide your design objectives.
How do I select the right tile pattern for my specific project?
Analyze your room’s proportions and characteristics to determine the best tile pattern. Simpler patterns like straight lay work well in smaller spaces, while larger rooms can accommodate more intricate designs like herringbone or chevron.
What materials should I gather before planning my tile layout?
Gather all necessary materials, including tiles, mortar, spacers, and tools needed for installation. Create a detailed layout sketch that incorporates precise measurements and highlights key architectural features to ensure accuracy during installation.
How can I ensure proper alignment while installing tiles?
Start laying tiles from the center of the room outward, using spacers for consistent gaps. Regularly check your alignment with a level and adjust as needed to maintain a visually even surface throughout the installation process.
What should I do to verify the consistency of my tile pattern after installation?
Step back and check the entire tiled surface from different angles to catch any alignment or spacing issues. Make any necessary adjustments, especially near edges and transitions, to maintain visual continuity and enhance the overall appearance of your space.
Recommended


