Tile Backsplash Guide: Achieve a Flawless Installation
Posted by Mike Belk on Nov 25, 2025

Most homeowners underestimate the power of a well-installed backsplash to elevate the look and value of their kitchen. A professional finish is not just about style—it protects your walls from stains and moisture every single day. Proper preparation and careful installation can make your backsplash last for years without cracking or peeling. This guide walks you through clear, actionable steps so your kitchen upgrade is simple, stress free, and truly lasting.
Table of Contents
- Step 1: Assess And Prepare The Project Area
- Step 2: Select And Order The Ideal Tiles
- Step 3: Lay Out Your Tile Pattern And Plan Cuts
- Step 4: Apply Adhesive And Install Tiles
- Step 5: Grout And Clean The Backsplash
- Step 6: Inspect And Finish With Caulking
Quick Summary
| Key Point | Explanation |
|---|---|
| 1. Assess wall surface condition | Ensure walls are clean, dry, and firm to prevent tile adhesion issues. |
| 2. Order 10% extra tiles | Buying extra tiles accounts for cuts and future repairs. |
| 3. Plan tile layout accurately | Use precise measurements and reference lines to minimize gaps and ensure a cohesive design. |
| 4. Use quality adhesive | Select an appropriate adhesive for wall tiles to ensure strong bonding. |
| 5. Inspect and caulk effectively | Check for gaps and irregularities; use caulk to seal joints for moisture protection. |
Step 1: Assess and prepare the project area
Before diving into your tile backsplash installation, you need to thoroughly assess and prepare your project area. This critical first step will determine the success and longevity of your tile work. According to Ceramic Tile Foundation, proper substrate preparation is crucial for tile installation.
Start by carefully examining your wall surface. Look for any signs of damage, unevenness, or potential structural issues. Your substrate needs to be firm, completely dry, and exceptionally clean. Remove any traces of grease, dust, or previous adhesive remnants. As the General Services Administration recommends, verify that surfaces are free from oil or waxy films that could compromise your tile adhesion.
Pro tip: Use a level to check wall flatness. Any significant variations greater than 1/4 inch over a 10 foot span will require surface preparation like sanding, patching, or using a cement board underlayment. Addressing these issues now prevents future tile failures and ensures a professional looking installation.
 Your next step will involve selecting the right substrate materials and beginning your detailed surface preparation.
Step 2: Select and order the ideal tiles
Selecting the perfect tiles for your backsplash is more than just picking a pretty pattern it is about creating a cohesive design that transforms your kitchen. According to Decoholic, you should consider your kitchen’s overall style to ensure design harmony and order samples to observe how they appear under different lighting conditions.
Start by analyzing your kitchen’s color palette and existing design elements. As Catholic Review suggests, choosing tiles involves balancing both design and functionality. Look for materials that complement your countertops, cabinetry, and overall aesthetic. Consider tile size ceramic subway tiles work well in smaller kitchens while large format tiles can make spacious areas feel more expansive.
Pro tip: Always purchase 10% more tiles than your measured area requires. This accounts for cuts, potential breakage, and ensures you have matching replacements for future repairs. For additional inspiration and guidance, check out our 5 of the Best Type of Tile for Backsplash article. Your next step will involve precise measurements and ordering your selected tiles with confidence.
Step 3: Lay out your tile pattern and plan cuts
Carefully laying out your tile pattern and planning precise cuts is the key to achieving a professional looking backsplash. According to the General Services Administration, establishing gridlines and planning the layout ensures a cohesive design that integrates seamlessly with your kitchen’s existing elements.
Start by measuring your backsplash area and creating a detailed layout sketch. Pacific Lutheran University recommends carefully measuring and planning tile layouts to minimize gaps and achieve precise cuts. Use a chalk line or laser level to create straight reference lines that will guide your tile placement. Dry fit your tiles without adhesive to visualize the final pattern and identify where cuts will be necessary around outlets, switches, or corners.
Pro tip: When planning cuts, always mark tiles using a waterproof marker and cut just outside your marked line to ensure a cleaner fit. For additional guidance on tile layout strategies, explore our Understanding the Role of Tile Layout Patterns article. Your next step will involve gathering the right cutting tools and preparing for precise tile installation.
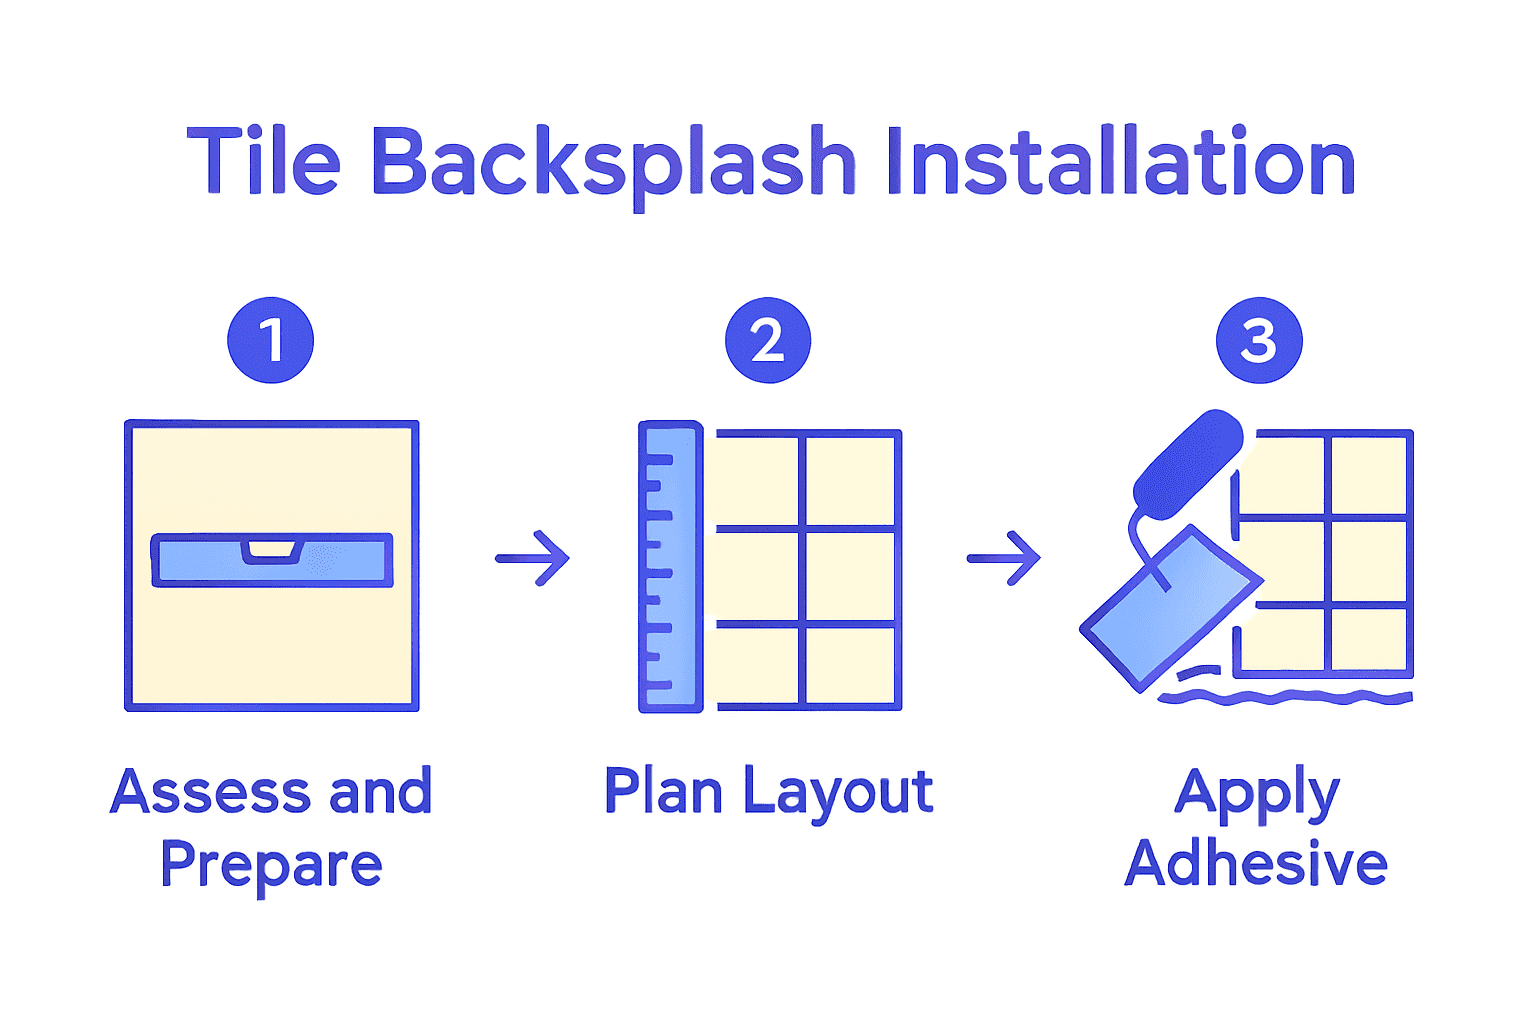
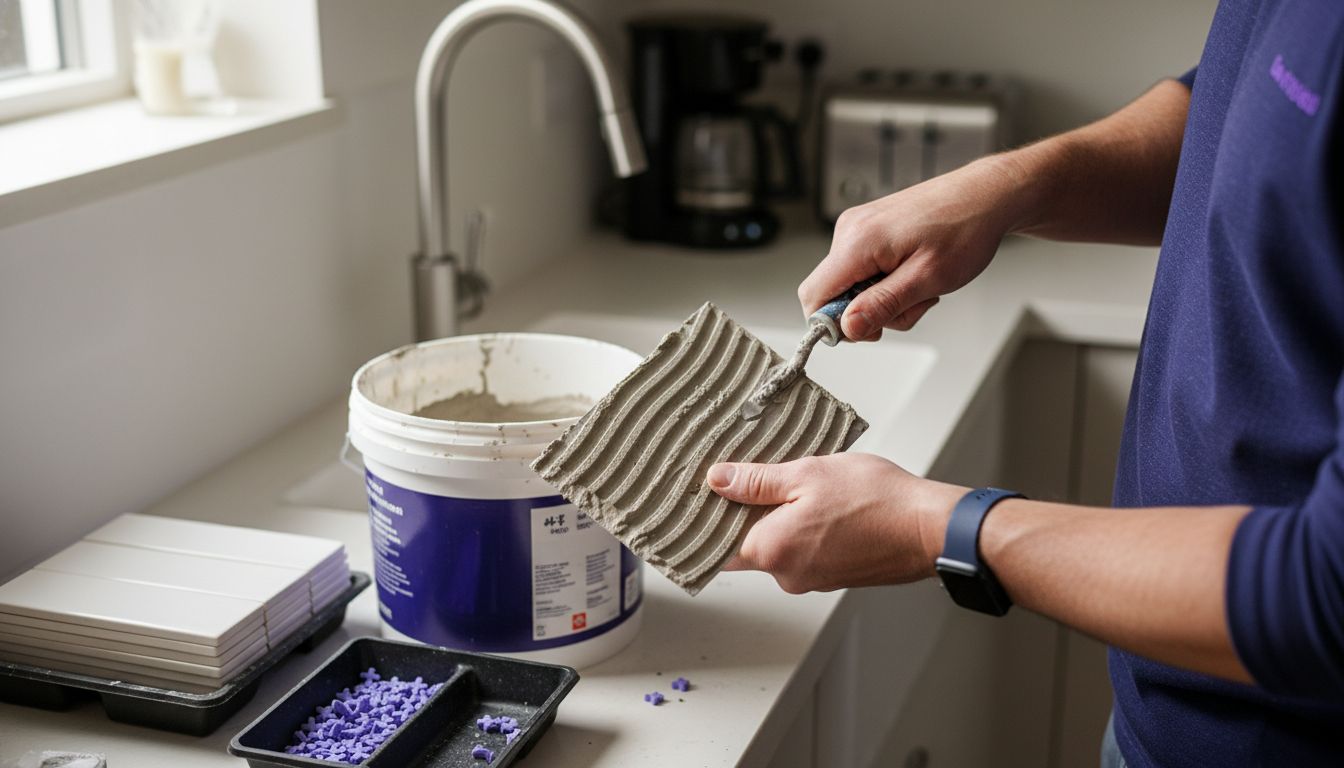
Step 4: Apply adhesive and install tiles
Now comes the exciting moment when your careful planning transforms into a beautiful backsplash. According to the General Services Administration, selecting and using the appropriate adhesive is critical to ensure proper bonding and verify that your substrate can support both the adhesive and tiles.
Begin by choosing a high quality thinset mortar or tile adhesive specifically designed for wall applications. Mix the adhesive according to manufacturer instructions creating a smooth consistency similar to peanut butter. Use a notched trowel held at a 45 degree angle to spread an even layer of adhesive onto your prepared surface. Work in small sections to prevent the adhesive from drying before tile placement. Press each tile firmly into the adhesive with a slight twisting motion to ensure maximum coverage and eliminate air pockets.
Pro tip: Keep a damp sponge nearby to quickly clean excess adhesive from tile surfaces before it hardens. For comprehensive guidance on achieving professional results, check out our How to Install Backsplash Tile Like a Pro: Tips and Tricks article. Your next step will involve carefully spacing and aligning tiles for a seamless finish.
Step 5: Grout and clean the backsplash
With your tiles perfectly placed, it is time to transform your backsplash with professional grouting techniques. According to Restore, you will want to apply grout using a rubber float held at a precise 45 degree angle to ensure complete coverage between your tiles.
Begin by selecting a grout color that complements your tile design and kitchen aesthetic. Mix the grout according to manufacturer instructions to achieve a smooth paste like consistency. Spread the grout diagonally across your tiles using the rubber float, pressing firmly to fill all joints completely. Work in small sections to maintain control and prevent the grout from drying before you can clean it. After filling the joints, wait approximately 15 minutes for the grout to set slightly then use a damp sponge to carefully wipe away excess grout from tile surfaces.
Pro tip: Allow your grout to cure for at least 24 to 48 hours before sealing. For ongoing maintenance strategies, explore our How To Keep Kitchen Backsplash Clean With Low Maintenance article. Your final step will involve sealing the grout to protect your beautiful new backsplash from stains and moisture.
Step 6: Inspect and finish with caulking
You are now in the final stages of creating a stunning backsplash that will elevate your kitchen’s appearance. According to the Ceramic Tile Foundation, it is crucial to inspect your tilework under the intended lighting conditions from a standard viewing distance to address any aesthetic concerns.
Begin by thoroughly examining your backsplash in natural and artificial light. Look for any uneven grout lines, small gaps between tiles and countertops, or areas where tiles meet cabinetry or walls. Select a high quality silicone caulk that matches your grout color or tile tone. Using a caulk gun, apply a smooth continuous bead along the edges where tiles meet other surfaces. Use your finger or a specialized caulking tool to create a clean concave profile that seals potential moisture entry points while creating a polished professional finish.
Pro tip: Allow the caulk to dry completely for 24 hours before exposing it to moisture or cleaning. For additional guidance on maintaining your new backsplash, check out our How To Keep Kitchen Backsplash Clean With Low Maintenance article. Your project is now complete and ready to showcase your stunning new kitchen feature.
Elevate Your Kitchen with Tiles You Can Trust
Achieving a flawless tile backsplash takes more than skill and patience. The article highlights how critical proper preparation, careful tile selection, precise layout, and expert installation are to creating a stunning and durable kitchen feature. You want tiles that not only complement your kitchen’s style but also promise long-lasting performance and easy maintenance. Facing challenges like finding the right tile material, matching colors perfectly, and ensuring a professional fit can feel overwhelming.
BELK Tile understands these concerns and offers a broad selection of high-quality tiles including ceramic, porcelain, glass mosaic, and natural stone. Our tiles come with detailed specifications and inspiring images to help you visualize your kitchen transformation. Whether you need durable backsplash tiles suited for your space or unique styles that enhance your design vision, explore our collections to find the perfect match. Don’t wait until the project stalls because your tile choices fall short – start browsing and ordering your ideal backsplash tiles today at BELK Tile. For expert tips that align perfectly with your installation goals, check out our How to Install Backsplash Tile Like a Pro: Tips and Tricks and discover the 5 of the Best Type of Tile for Backsplash to make confident decisions every step of the way.
Take control of your backsplash project now and create a kitchen backsplash you will admire for years—visit BELK Tile and get started on your flawless installation journey.
Frequently Asked Questions
How do I assess my wall before installing a tile backsplash?
To assess your wall, check for any damage, unevenness, or structural issues. Ensure that the surface is firm, dry, and clean, removing grease and dust to guarantee better tile adhesion.
What tiles should I choose for my backsplash installation?
When selecting tiles, consider the overall design and color palette of your kitchen. Choose tiles that complement your countertops and cabinetry while balancing aesthetics with functionality.
How do I plan the layout for my tile backsplash?
Begin by measuring your backsplash area and sketching a layout to minimize gaps. Use a chalk line or laser level to create straight reference lines and dry fit your tiles to visualize the final pattern before any cuts.
What type of adhesive is best for installing backsplash tiles?
Use a high-quality thinset mortar or tile adhesive designed for wall applications. Mix the adhesive until it reaches a smooth, peanut butter-like consistency, and apply it evenly to ensure strong bonding with the tiles.
How do I grout my backsplash tiles effectively?
To grout your tiles, fill the gaps using a rubber float held at a 45-degree angle, pressing firmly for complete coverage. After applying, clean excess grout with a damp sponge and allow it to cure for 24 to 48 hours before sealing.
What should I do after installing my tile backsplash?
After installation, inspect your tilework under different lighting conditions, checking for uneven lines or gaps. Apply silicone caulk to seal edges where tiles meet other surfaces to prevent moisture entry and ensure a polished finish.
Recommended


