The Ultimate Guide to Subway Tiles
Posted by Mike Belk on Feb 01, 2021
Subway tiles are widely popular, and it's not surprising why. They are timeless, practical, beautiful, and go well with a vast range of interiors – in fact, they don't look bad in any interior space. But the question is, what exactly is a subway tile?
What Are Subway Tiles?
The official definition of subway tiles is "a thin, low-fired, glazed ceramic tile." Interestingly, according to the Washington Post, the first version of subway tiles used in the New York City subway was actually manufactured with white glass. Today, subway tiles come in a range of materials, including stone, glass, and marble.
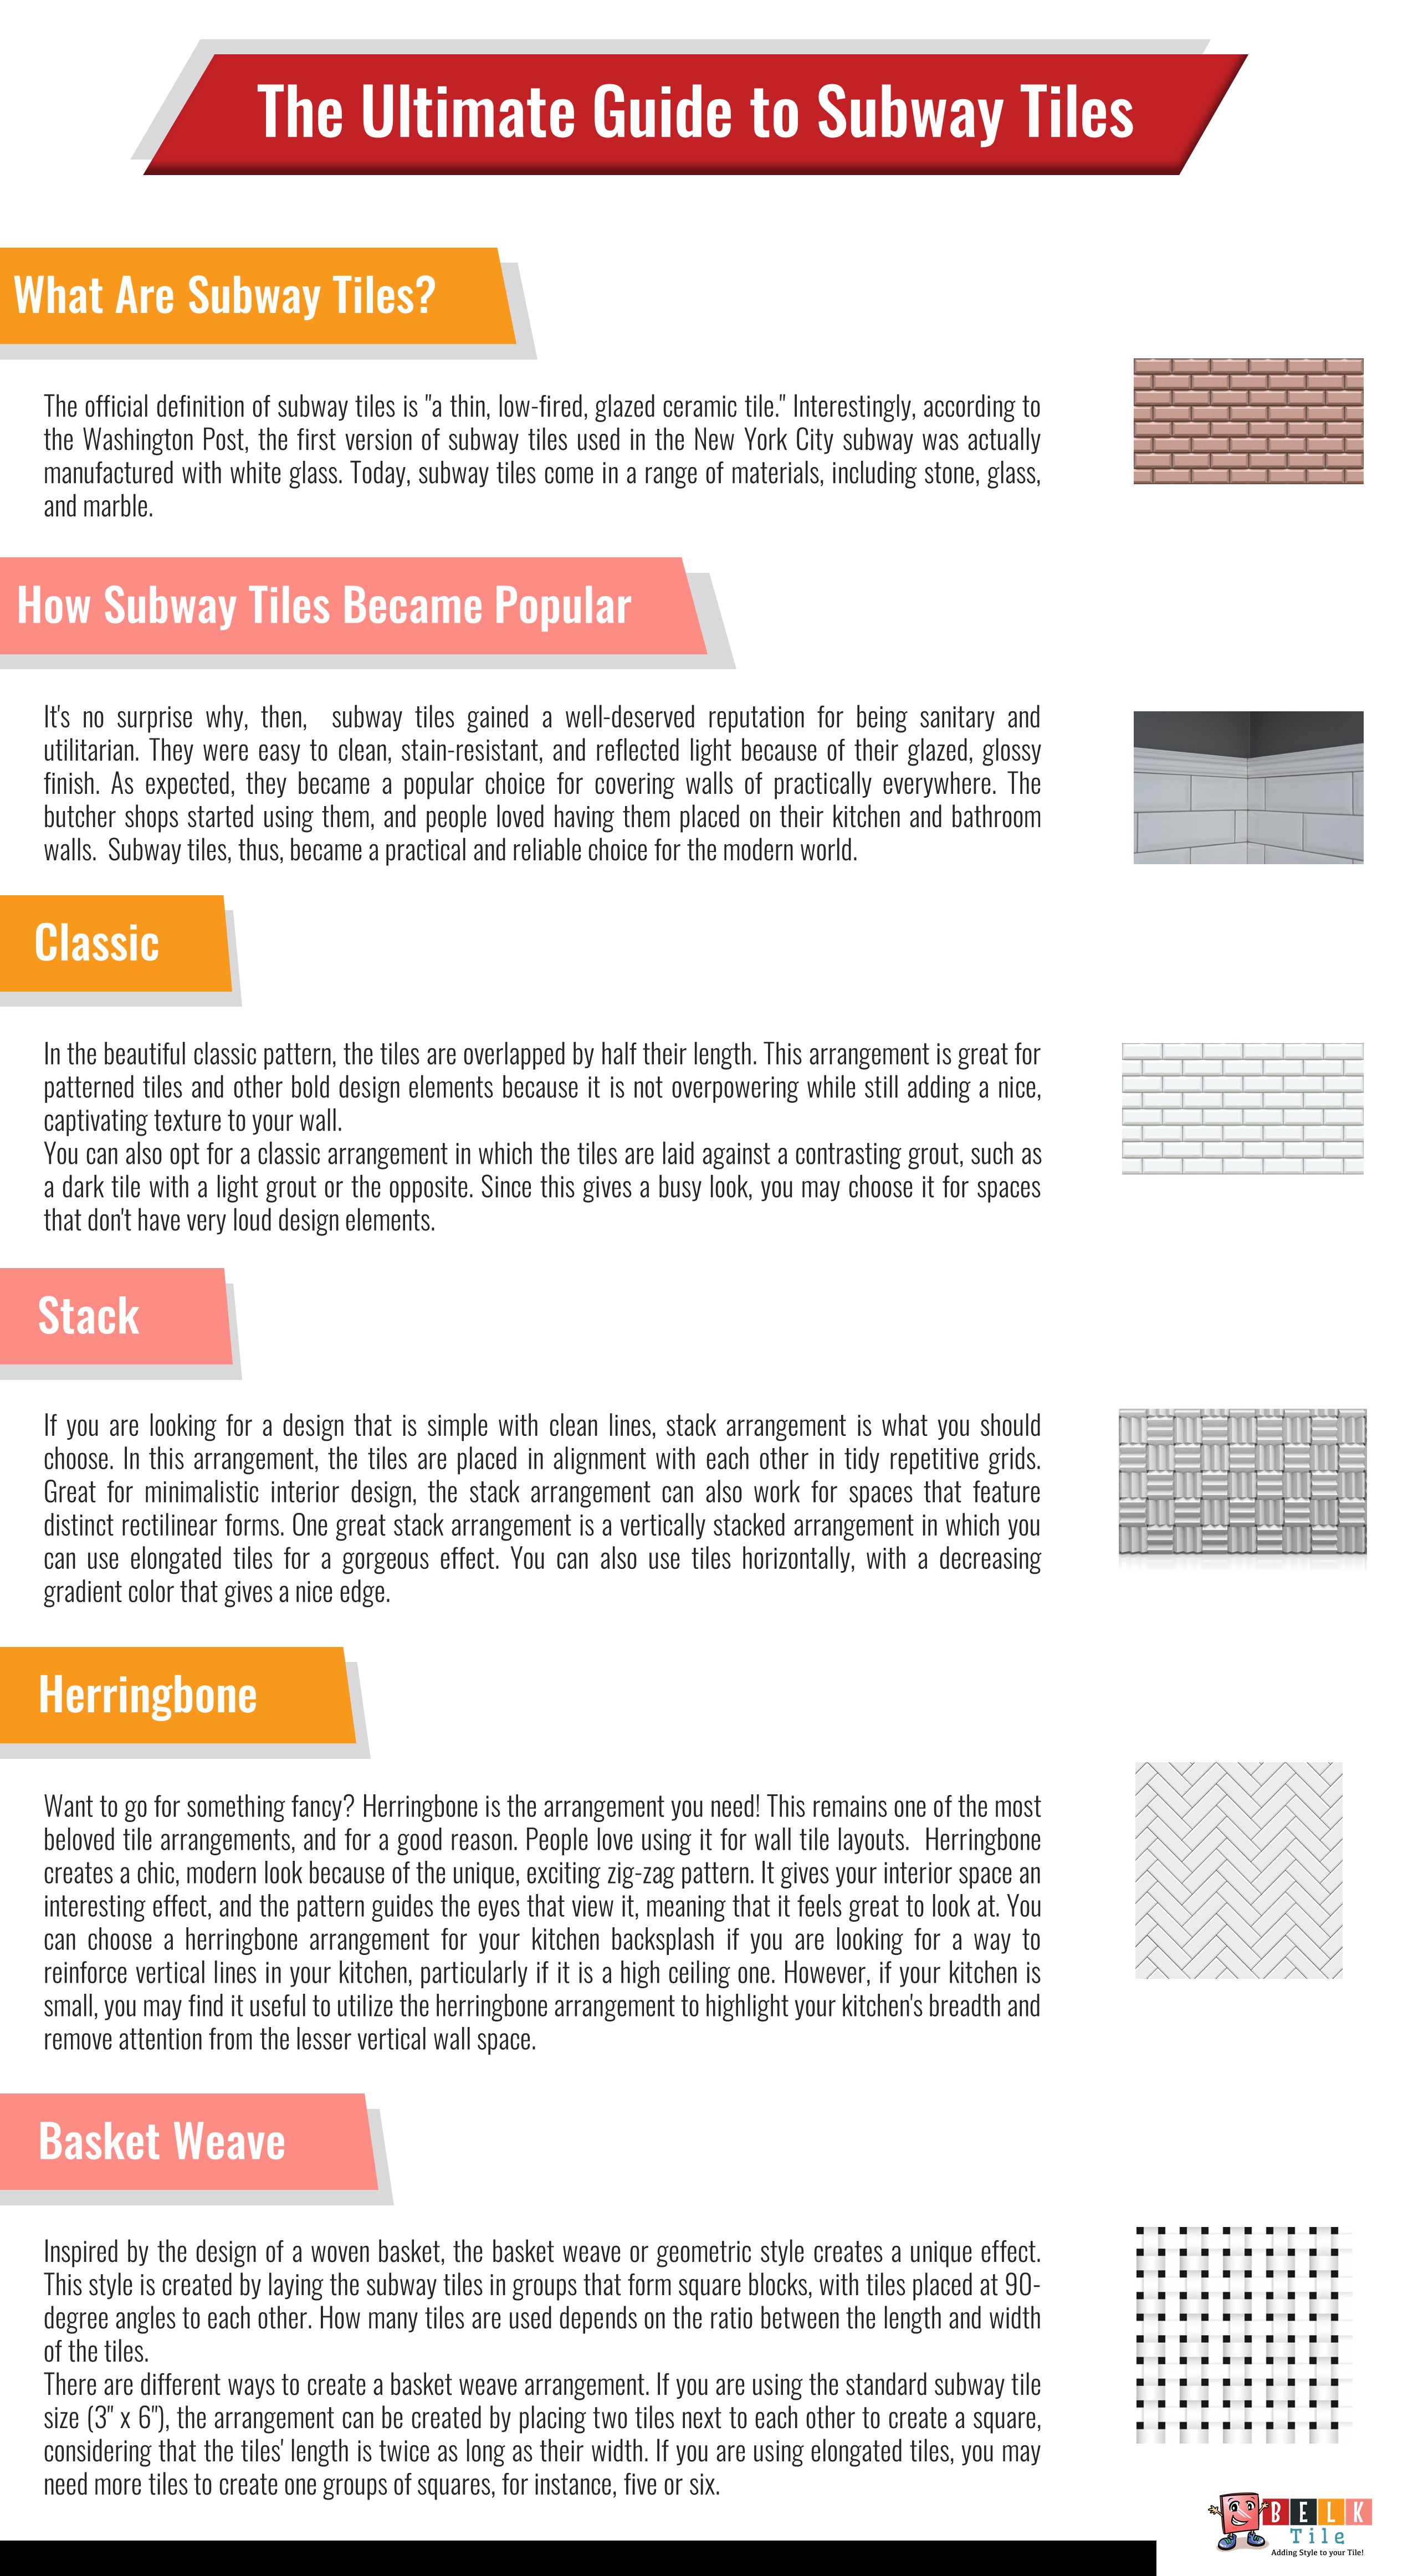
Subway tiles are typically used as backsplash tiles, but they can also cover an entire room or on accent walls. As mentioned before, subway tiles get their name from the New York City subway. The flat surface and the narrow grout lines made these tiles ideal for coating the walls as they made it convenient to clean the place used by thousands of people every day. One thing to keep in mind is that subway tiles are used only on the walls. They are not suitable for use on the floors. The fact that they are relatively thin means that they cannot tolerate much wear and tear.
How Subway Tiles Became Popular
Did you know how subway tiles were invented? The story began under the ground. In 1904, New York City Planners were preparing to launch the first series of subway stations in the city. They were concerned that people were not used to it and maybe scared to be in the dark, underground spaces. Looking for a design solution, they approached two architects, Christopher Grant La Farge and George C. Heins, who invented the stunning, white 3" x 6" subway tiles. Now you know who to give credit to for the neat, gleaming subways we have today.
The architects were requested to design a surface that not only felt safe, friendly, and familiar to the citizens who would be using the subway for the first time but could also be easily cleaned. The slightly curved tiles that had a glossy finish seemed the perfect – and only – solution. They became a huge success as they manage to do exactly what they were created for – keeping the subway stations polished, sanitary, and gleaming!
It's no surprise why, then, subway tiles gained a well-deserved reputation for being sanitary and utilitarian. They were easy to clean, stain-resistant, and reflected light because of their glazed, glossy finish. As expected, they became a popular choice for covering walls of practically everywhere. The butcher shops started using them, and people loved having them placed on their kitchen and bathroom walls. Subway tiles, thus, became a practical and reliable choice for the modern world.
The Types of Subway Tile Arrangements
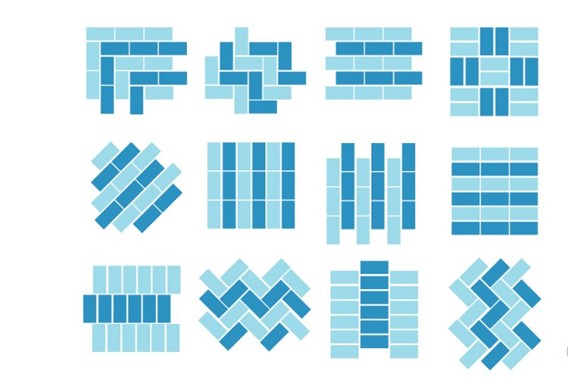
When it comes to subway tiles, there are several great options. In this article, we will tell you about all of them. Let's begin!
Perhaps the most common subway tile design is the white 3" X 6" tile placed in the classic horizontal arrangement. This arrangement never gets old, but experimenting is always fun, isn't it? There are many colored tiles and tile arrangement choices that you can choose to add an interesting touch to your property. Subway tiles have great design potential. Some tile arrangements may require you to cut the tiles and arrange them in a particular pattern, while others just need you to align them in a certain way.
Here are some fresh ways to lay out the subway tiles:
Classic
In the beautiful classic pattern, the tiles are overlapped by half their length. This arrangement is great for patterned tiles and other bold design elements because it is not overpowering while still adding a nice, captivating texture to your wall.
You can also opt for a classic arrangement in which the tiles are laid against a contrasting grout, such as a dark tile with a light grout or the opposite. Since this gives a busy look, you may choose it for spaces that don't have very loud design elements.
Classic patterns can be of three types, horizontal, vertical, and diagonal, as demonstrated below:
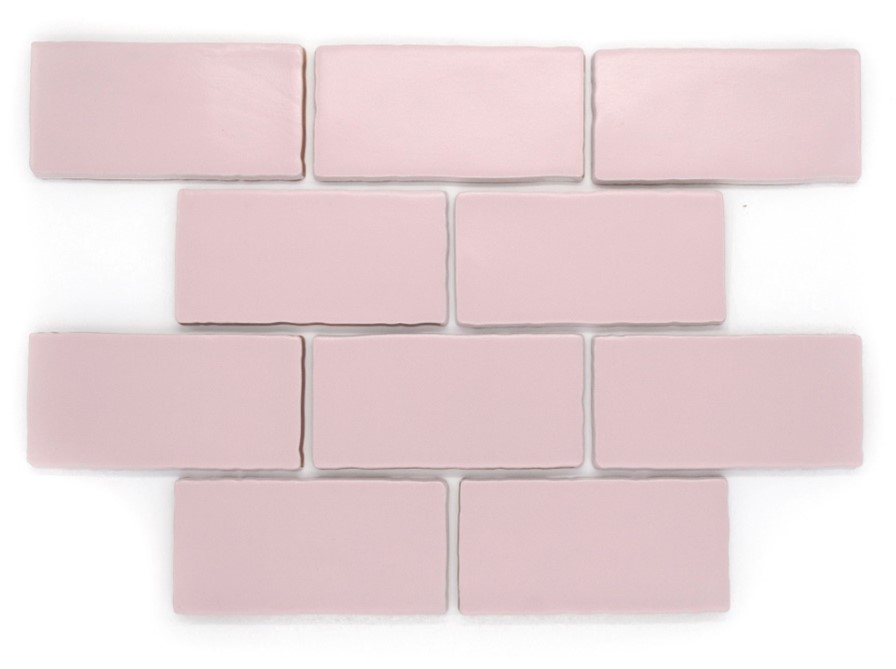
Horizontal Classic
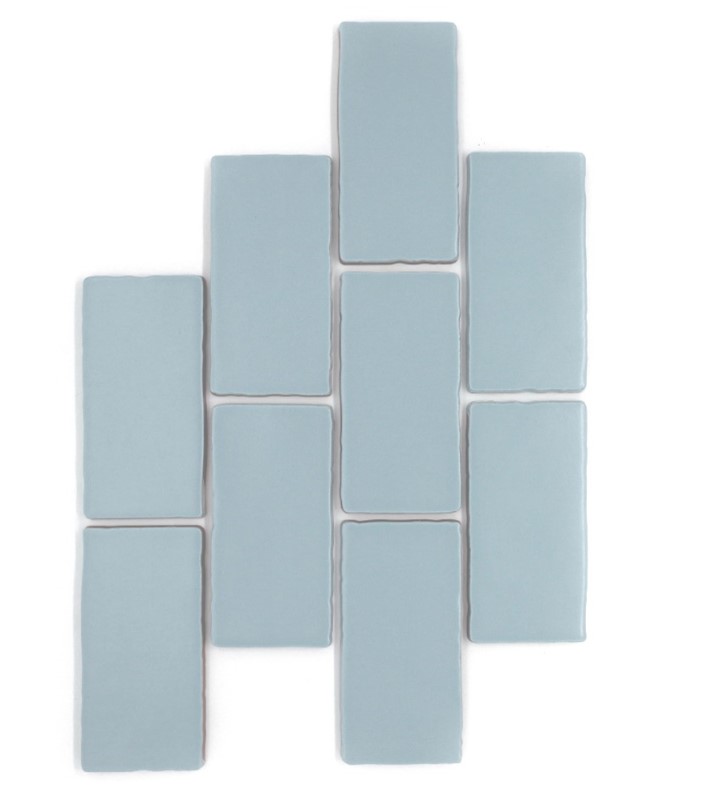
Vertical Classic
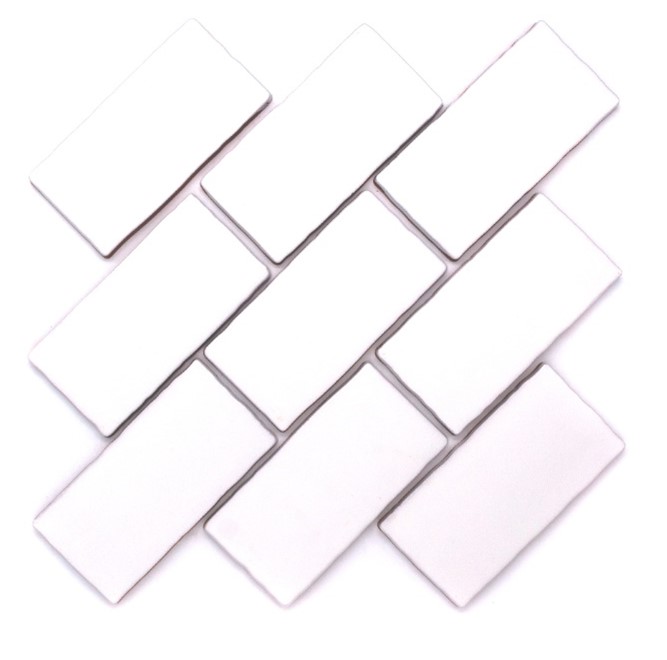
Diagonal Classic
Stack
If you are looking for a design that is simple with clean lines, stack arrangement is what you should choose. In this arrangement, the tiles are placed in alignment with each other in tidy repetitive grids. Great for minimalistic interior design, the stack arrangement can also work for spaces that feature distinct rectilinear forms. One great stack arrangement is a vertically stacked arrangement in which you can use elongated tiles for a gorgeous effect. You can also use tiles horizontally, with a decreasing gradient color that gives a nice edge.
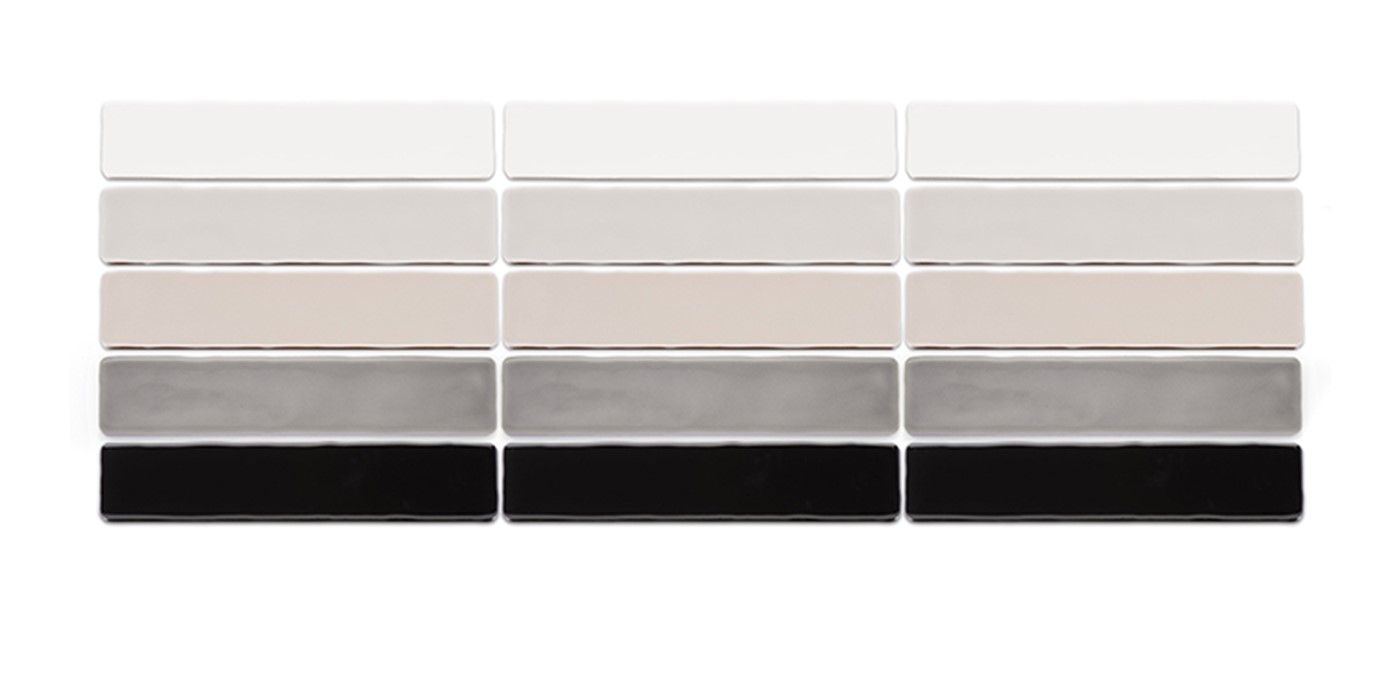
Horizontal Stack
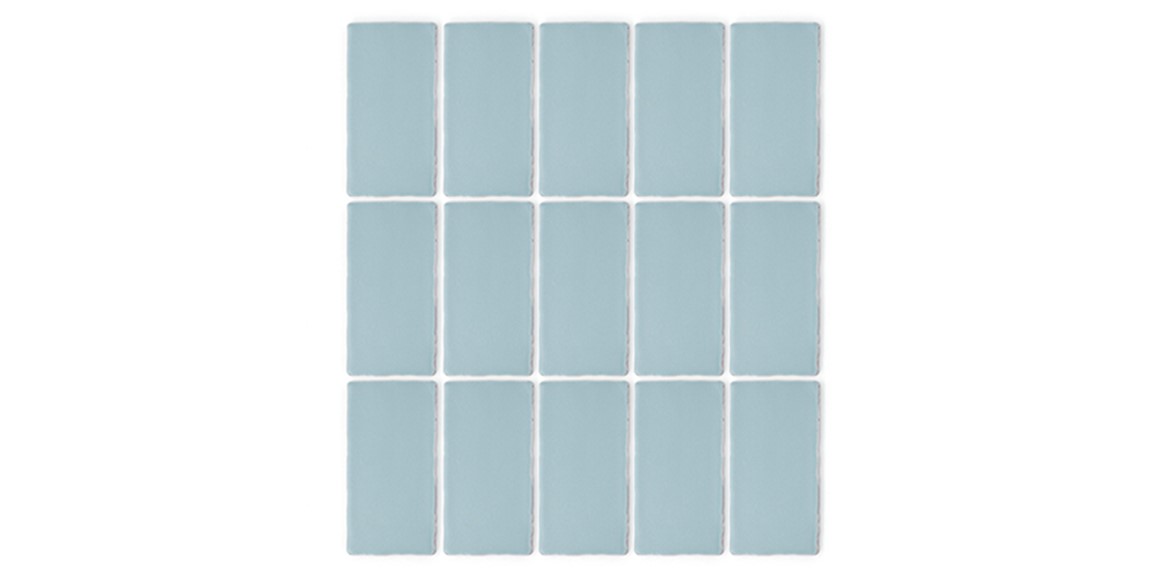
Vertical Stack
Herringbone
Want to go for something fancy? Herringbone is the arrangement you need! This remains one of the most beloved tile arrangements, and for a good reason. People love using it for wall tile layouts. Herringbone creates a chic, modern look because of the unique, exciting zig-zag pattern. It gives your interior space an interesting effect, and the pattern guides the eyes that view it, meaning that it feels great to look at. You can choose a herringbone arrangement for your kitchen backsplash if you are looking for a way to reinforce vertical lines in your kitchen, particularly if it is a high ceiling one. However, if your kitchen is small, you may find it useful to utilize the herringbone arrangement to highlight your kitchen's breadth and remove attention from the lesser vertical wall space.
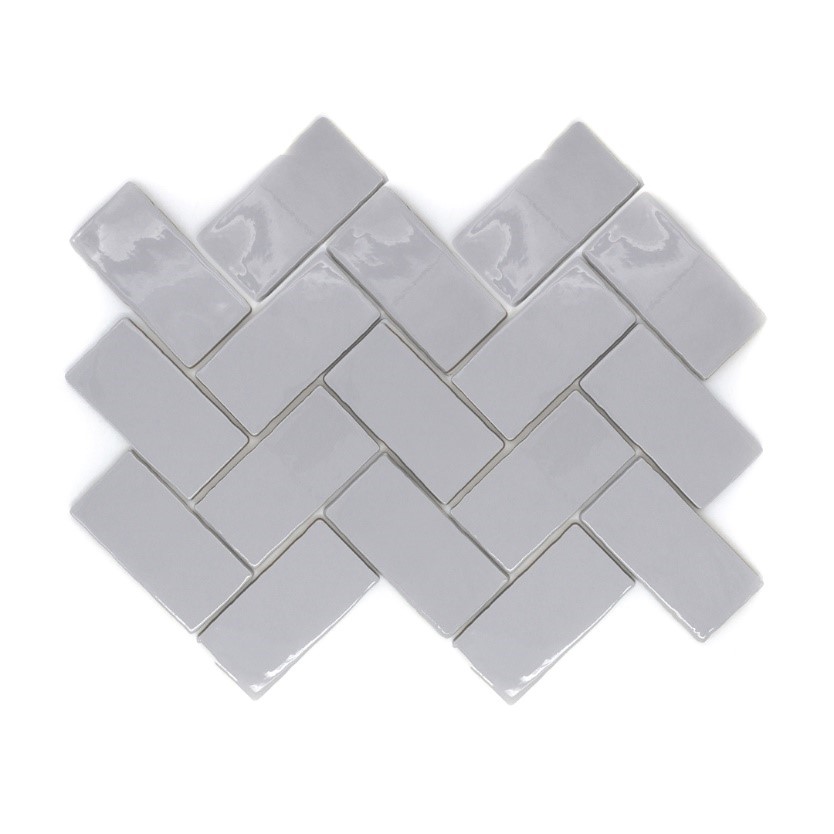
Classic Herringbone
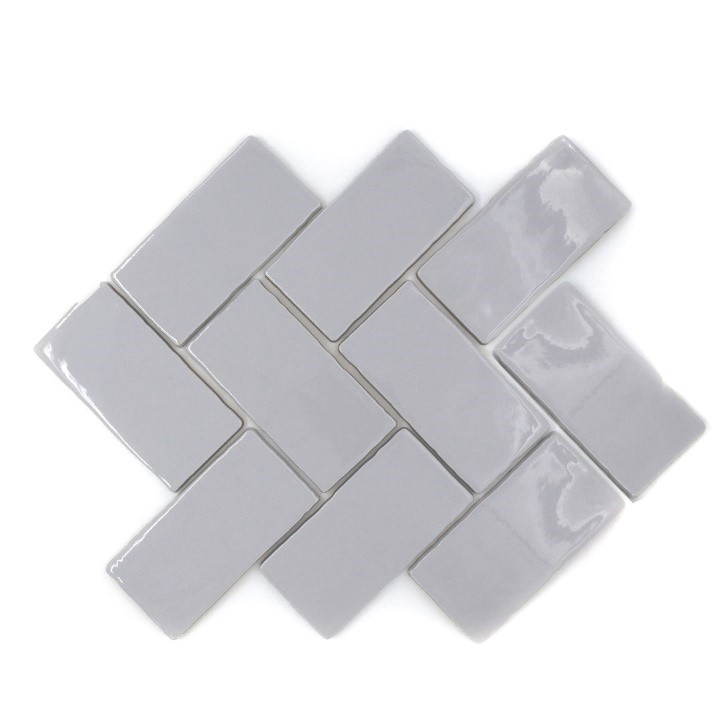
Horizontal Herringbone
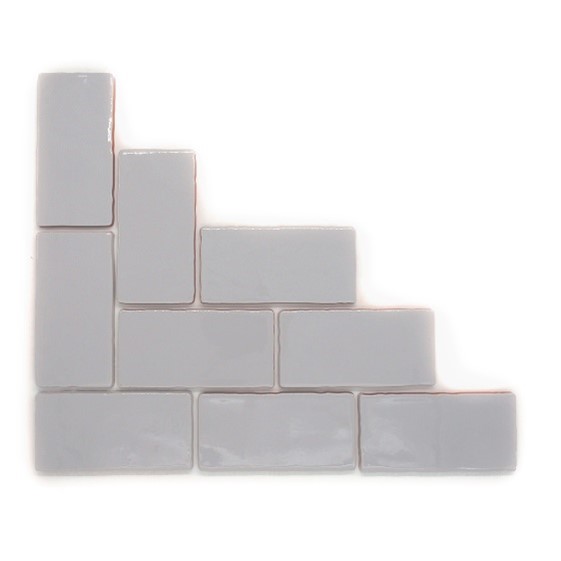
45 Degree Herringbone
Basket Weave
Inspired by the design of a woven basket, the basket weave or geometric style creates a unique effect. This style is created by laying the subway tiles in groups that form square blocks, with tiles placed at 90-degree angles to each other. How many tiles are used depends on the ratio between the length and width of the tiles.
There are different ways to create a basket weave arrangement. If you are using the standard subway tile size (3" x 6"), the arrangement can be created by placing two tiles next to each other to create a square, considering that the tiles' length is twice as long as their width. If you are using elongated tiles, you may need more tiles to create one groups of squares, for instance, five or six.
How you create the basket weave pattern depends on the shape and dimensions of the tiles that you have chosen. There are different ways to create basket weave patterns, which makes this a customizable and exciting option. Once a square pattern is created, the square blocks are placed side by side at a rotation of 90 degrees, and then this pattern is repeated across the wall or floor to cover the space.
|
|
|
English Bond
The English-bond pattern is created by alternating two differently sized subway tiles row by row. If you don't have tiles of two different sizes, you can still create this pattern by cutting the tiles to create a shorter length. In the classic English bond pattern, the shorter tile is typically half the width of the longer one. However, you can put on your creative hat and find a new way to create this interesting pattern!
Step Ladder
This arrangement is similar to 45-degree herringbone. This pattern is an effective way to bring out the best in an interior space. To create the step ladder arrangement, you need to have the length and width in a ratio of precisely 2:1. Two rectangular subway tiles are joined to create an 'L' shape, which is aligned with other similar 'L' shapes to create the effect of a moving ladder. The step ladder pattern is useful for creating a busy space and highlighting the corners of your interior space.
Cobblestone
Cobble is a little like herringbone, but more intricate. Several half-cut square tiles are laid between each 'L' shape. It is a complicated arrangement, so it is good to choose a grout color of the same color or belongs to the same color family as the tiles. If your interior décor is inclined towards the traditional side, this arrangement style can be suitable.
How to Select the Right Subway Tiles for Your Bathroom?
After their creation in 1904, subway tiles started being used in places other than the New York City's subways' walls. Even after a century, these tiles continue to remain popular due to their usability and appearance. They can be utilized in both simple and complex designs and offer tight grout joints and clean lines. If you are considering using subway tiles in your bathroom, here are some great ways to do it:
Classic Beauty
If you are a believer in the concept of "simple is beautiful," this is the effect that you should choose. There's nothing more timeless and authentic than the classic white subway tiles when paired with white grout. This gives an ideal, neat back-drop that accentuates the bathroom's other features, including floor surfaces, bath-ware furniture, towels, and others.
Play with Sizes
Traditionally, subway tiles have the dimensions of 3 inches x 6 inches. However, many other sizes are now available. These include the ultra-slim, modern profile of 2 inches x 10 inches and the larger, broader profile of 9 inches x 18 inches. If you are looking to create a chic, contemporary look, you can use bigger sized subway tiles in your bathroom.
Experiment with Different Colors
While subways tiles were originally only white, they are now available in a wide range of colors and textures, which adds to their usefulness in both aesthetic and practical aspects. Color options allow you to customize the tiles according to your preferred theme. White is a great option, but you can get a contemporary touch to your interior space with other colors. Use a nice color and texture combination to add some personality and character to your bathroom.
The Tile Arrangement
Subways tiles are traditionally used horizontally. However, this is no way means that you cannot use them in other orientations or layouts. In fact, a vertical orientation gives a super modern touch to any interior space. It not only elongates the apparent height of your bathroom walls but also deepens visual interest.
Get Your Grout Right
Did you know that you can use grout to your advantage? Just select a contrasting color, which will give you the result of making the grout stand out as a feature. The result? You get a more highlighted and accentuated texture through a grid-like appearance of the walls. So, make sure that you keep this in mind when choosing how to use your subway tiles.
Marble Can Be 'Marbel-Ous'!
Looking to add some elegance into your bathroom or other interior space? Marble is the answer! Marble subway tiles offer you several great benefits like pattern variation, tonal variation, natural movement, and veining. Make sure you utilize this option if it goes well with your theme!
Surface
You can find subway tiles in a range of exciting textured finishes. With a mirrored subway tile, you can achieve a glowing effect due to its highly reflective surface. For other effects, you can choose the other surface options available. Different surfaces add to the overall effect that subway tiles create because they cater to the sense of touch, and ultimately the overall experience of an interior space.
The Bottom Line
Subway tiles can be the perfect addition to your home or other interior space. Explore all the available options and select the type, size, color, and pattern that will bring out the best in your home. Whether you are renovating your home or getting a new one built, it is good to know your options. After all, you are investing a large sum of money, and you should ensure that you make the most of it. Tiles can make all the difference in your home or other property. If you are interested in expert advice, don't hesitate to reach out to us! We are always here to help you!
Share this Image On Your Site

