How to Install a Glass Tile Backsplash Mosaic
Posted by Mike Belk on Jan 02, 2019
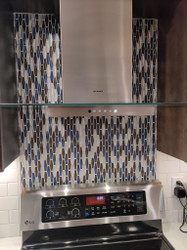
How to Install a Backsplash Glass Tile Mosaic
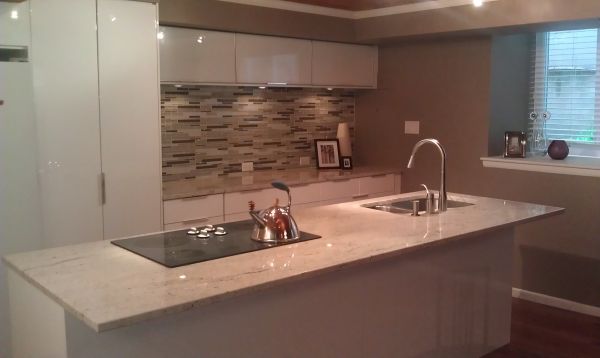
A backsplash can add a pop of color, texture, and fun to your kitchen. Regardless of the size of your kitchen, its layout, or your personal style, there is a backsplash with glass tile out there that is perfect for you.
Whether you already know what you want or are just getting started, you likely have a lot of questions.
That's why we've created the ultimate guide to installing a backsplash with glass tile. Keep reading to learn everything you'll need to know, from picking your tile to getting it on the wall.
Set Your Budget
Installing a backsplash with glass tile can get very expensive. Certain styles, materials, and patterns can carry high per-tile prices. If you need to cover a large area, the cost can really add up.
Luckily, there are plenty of affordable glass tile options that make it possible for anyone to install a backsplash, regardless of their budget.
But before you start shopping for the right glass tile for your backsplash, it's a good idea to set a budget and decide exactly how much of your wall you plan to cover.
While a budget can always be adjusted once you start shopping, having an idea of how much you want to spend can help you narrow out certain tile options right from the start.
If you do fall in love with a glass tile that is too expensive for your budget, you do have some options.
One idea is to use the expensive tiles as an accent to a pattern. Then, you can fill in the rest of the pattern with a less expensive tile option.
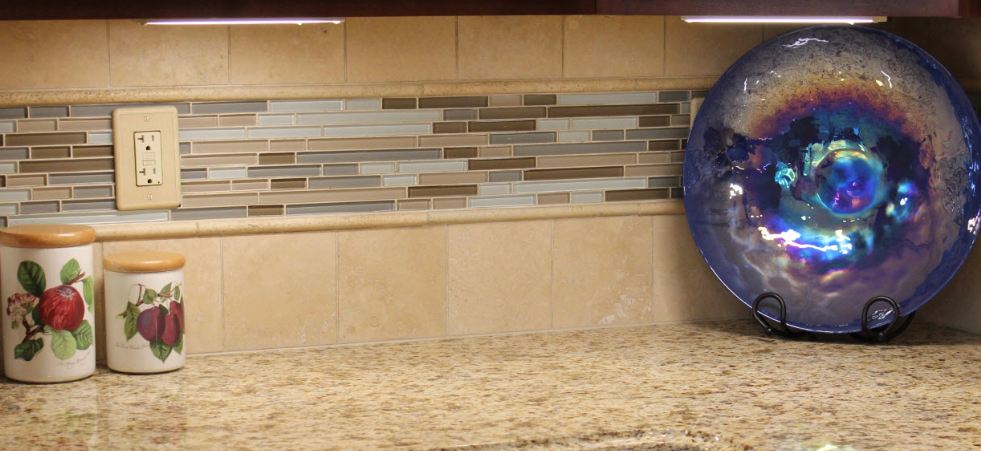
Another idea is to downsize your backsplash with glass tile. A backsplash doesn't necessarily need to stretch from your countertop to your cabinets. A shorter backsplash, if styled correctly, can still give you a beautiful focal point, while also helping you save some money.
Plan Ahead
With a budget in mind, its time to start planning your backsplash.
To start this step, head to your kitchen to start thinking about what your dream backsplash with glass tile would look like.
Would it stretch from counter to cabinet? Would it simplify a busy space or spice up a boring one? If your kitchen counters are situated on more than one wall, will your backsplash continue, or will it be contained in a single space?
If you plan to install your tile backsplash on your own, there are a few more considerations you need to make.
Cutting tile can be a challenge if you don't have prior experience.
If you are worried about cutting your tiles and getting a clean finish, it may be a good idea to hire professional help. If you must do it on your own, you can make the job a bit easier by adjusting your pattern and design to minimize the number of cuts that need to be made.
For instance, if there is a window in the space where you plan to add your backsplash, keep in mind that it will require quite a few more cuts. Shortening your backsplash could reduce the number of cuts needed.
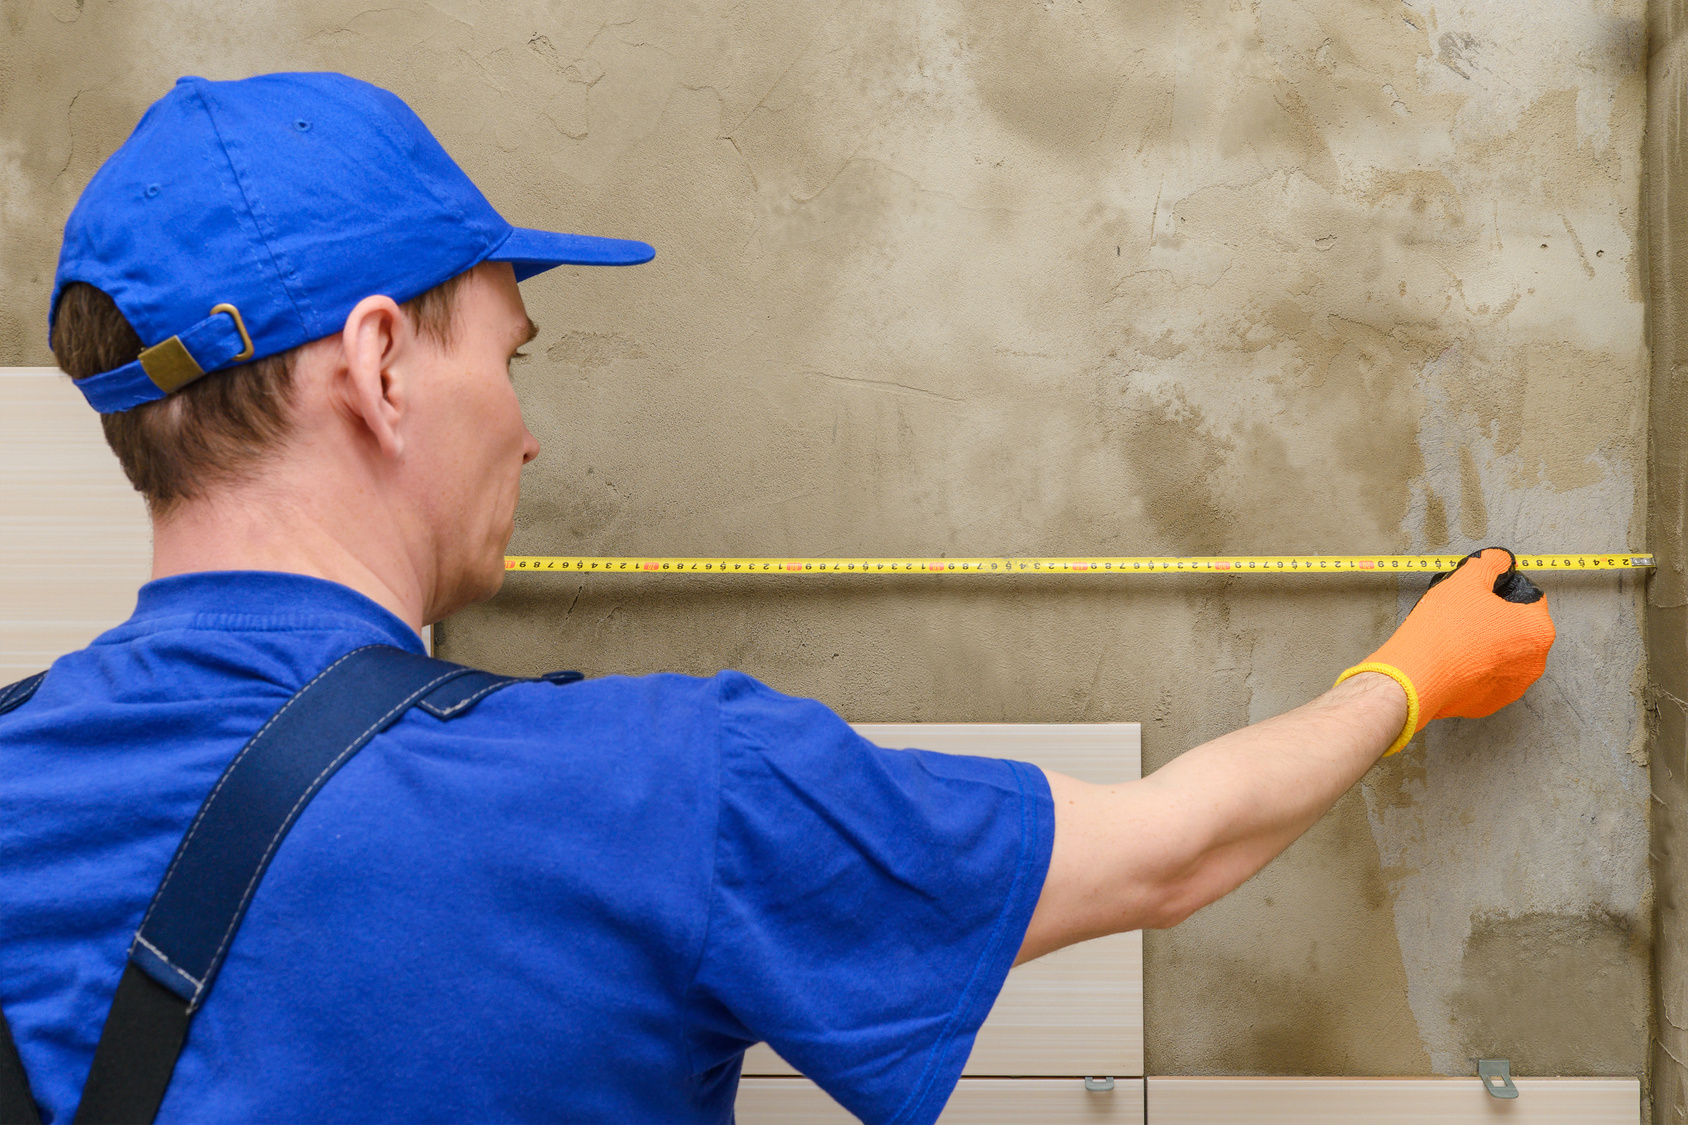
Once you've decided where your backsplash will go, its time to start measuring the space that you need to cover. This will allow you to better estimate your costs when shopping for the right glass tiles.
Choose Your Color and Style
Now that you have a budget set and a plan in mind, the next step to installing a backsplash with glass tile in your kitchen is to choose the perfect style!
While this may seem like the simplest step, with so many options out there, narrowing it down can be a challenge.
If you're adding a backsplash with glass tile to your kitchen without making any other design changes, you'll want to choose a style, color, and pattern that matches your kitchen's look.
But if you're also going to be painting the walls or cabinets, changing appliances, and making other updates, you have a little more freedom in your choice of tile.
If you're dreaming of a modern, minimalist kitchen, you could opt for subway tiles or a black and white pattern. If your kitchen is more farmhouse chic, then softer, earth tones or pastels might be a better choice. Mosaic patterns can give any kitchen an old-world, classic feel.
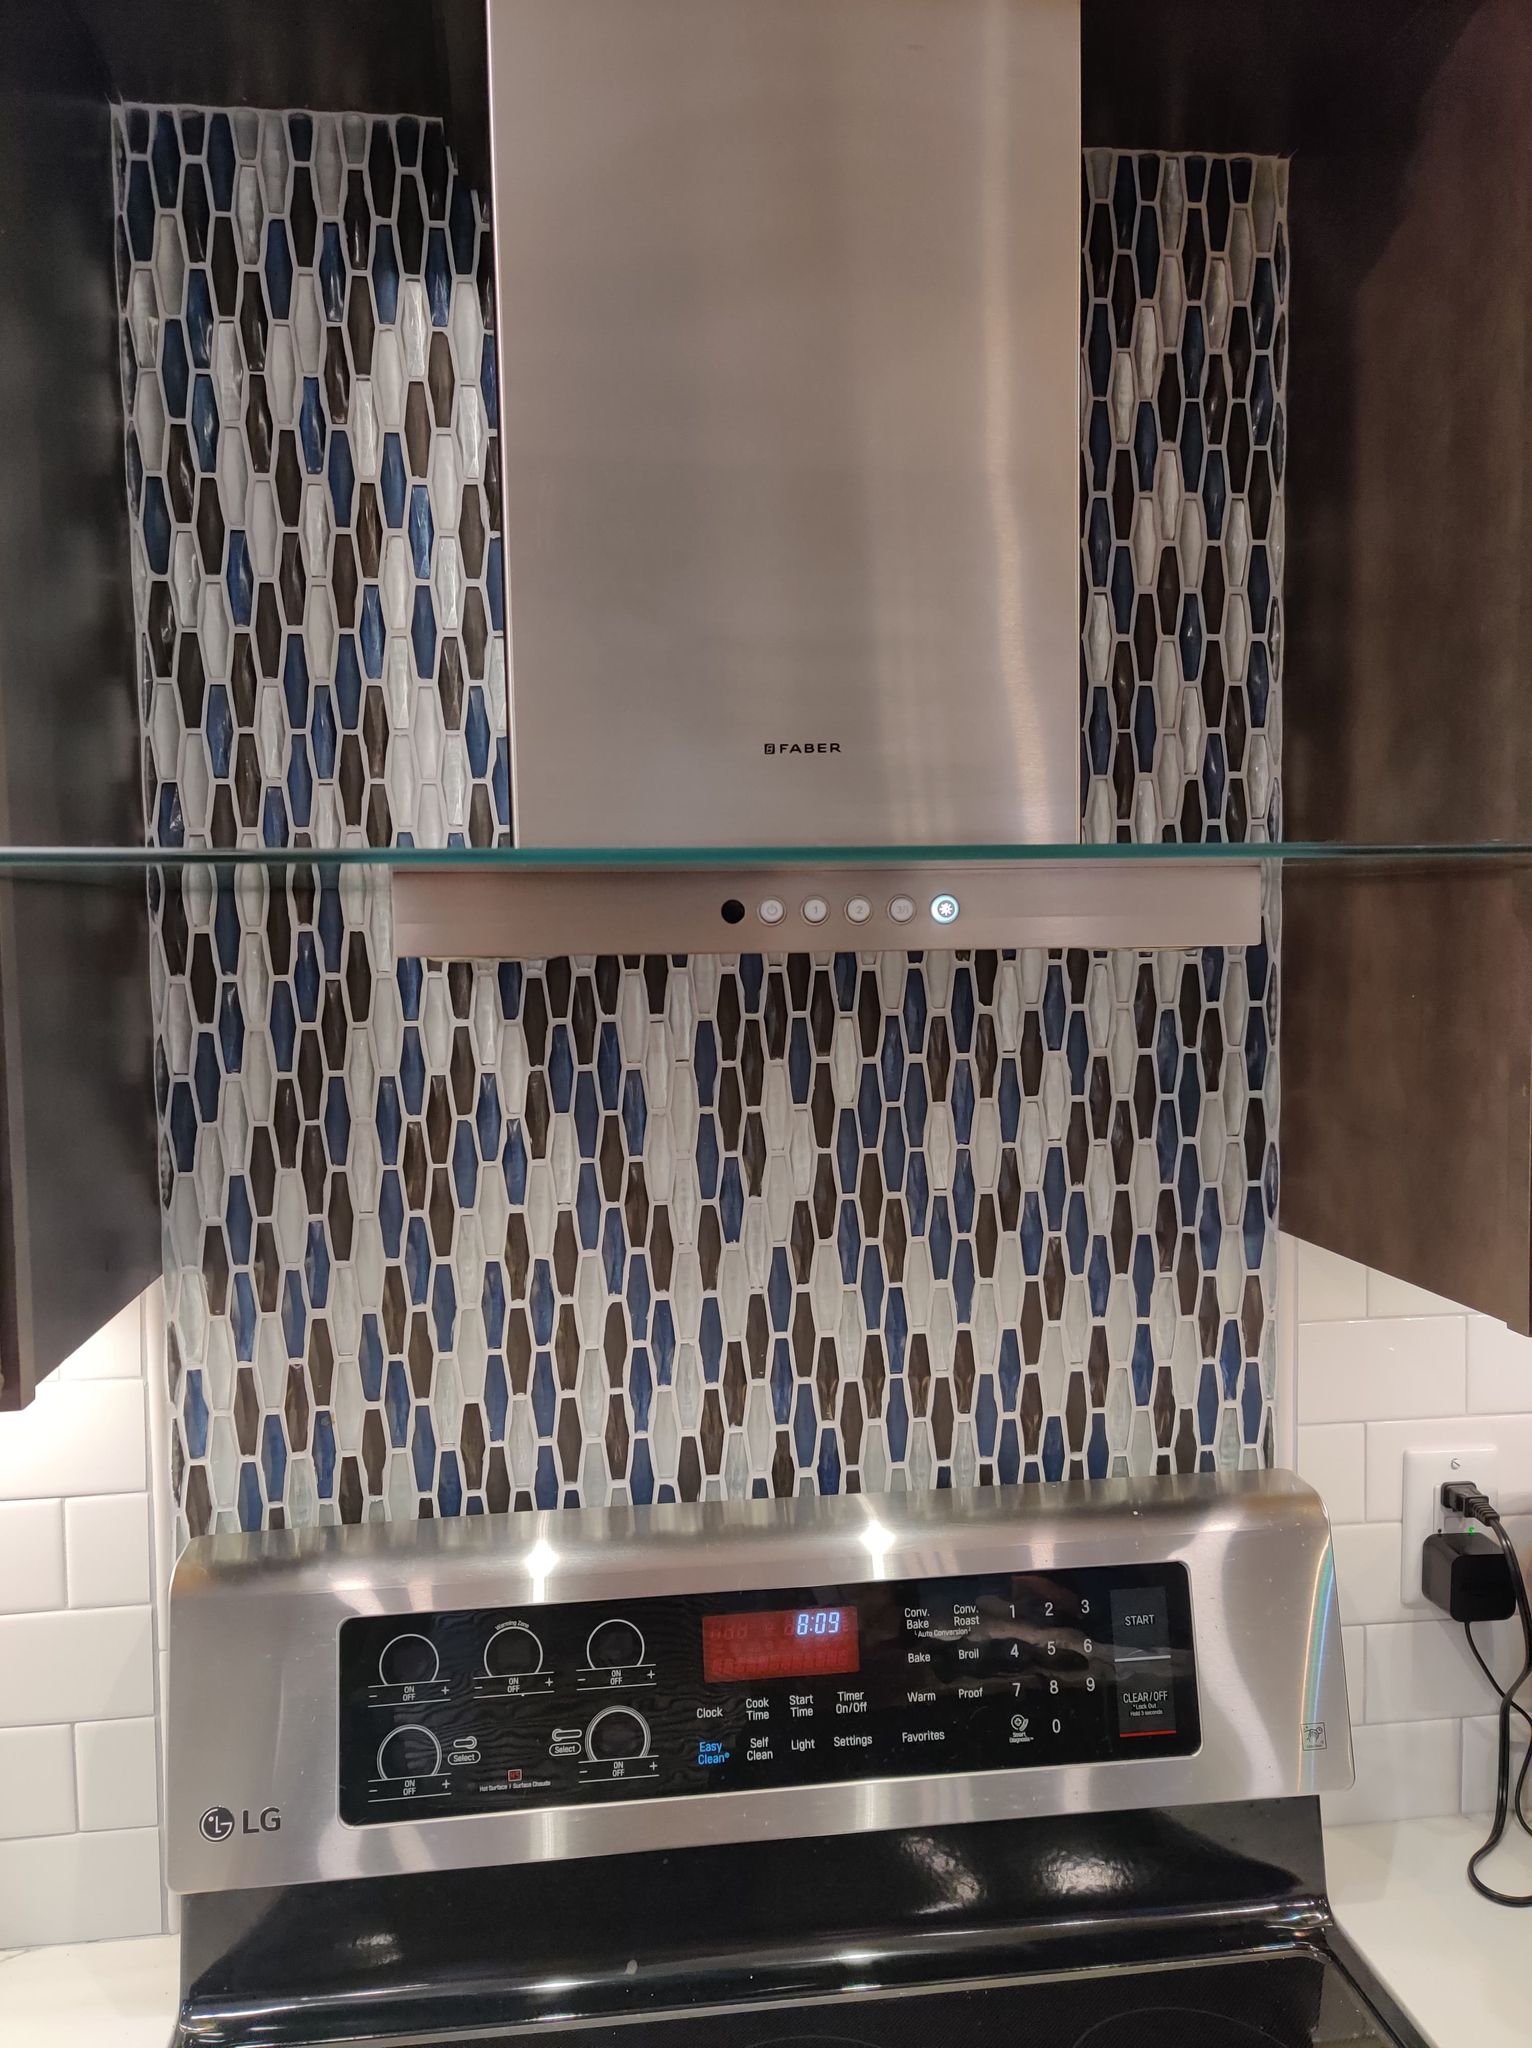
You could also go big and bold with metallics, bright splashes of colors, or loud, complicated patterns. This is a great way to make your backsplash with glass tile a focal point of your kitchen.
Think Ahead About Your Potential Tile Choice
Choosing the right color or pattern of glass tiles for your backsplash to match your current kitchen isn't the only consideration you should make.
One consideration is whether or not you think you'll be updating your kitchen again within a few years. Installing a backsplash with glass tile takes some work. The last thing you want to do is install a backsplash and then redesign your kitchen and find that your tile no longer matches.
If there is a chance that you think you'll be changing your kitchen design soon after installing your new tile, it's a good idea to choose a more neutral color and pattern. That way your new kitchen will still match your beautiful backsplash.
Another important consideration is the size of the space where you'll be adding your backsplash.
If you only have a short space between your cabinets and your countertop, an overly complicated tile pattern might get lost in the small space. But if you have a very large space, you have room for a much larger pattern.
Dark colors can also make a small space look even darker. Lighter colored or reflective tiles can help open up your space, making it look larger and cleaner.
Lay Out Your Pattern
Once you've chosen the glass tiles that you'll use for your backsplash, its time to lay out your chosen pattern.
Though it may not seem like it, even the simplest of backsplashes have a pattern to them.
Take for instance simple white subway tiles. These long, rectangular white tiles are often paired with a darker grout to create a clean, modern look. Even though these tiles are all the same, how you space each new layer of tile can make a big difference in the finished look.
Tiles lined up end to end and stacked perfectly on top of each other can create a messy look, as each tile is often slightly different from the next.
Instead, mixing up the spacing of each row creates a more natural-looking finished product.
If you've chosen a more complicated pattern for your backsplash with glass tile, it's even more important to lay it out ahead of time. This allows you to visualize how it will look on the wall.
It also gives you a chance to make any changes or tweaks before you begin your installation. Trying to do so after is a messy hassle, and will likely require you to buy additional tiles and other supplies.
Gather the Right Tools and Materials
Once you've selected and bought the right glass tiles for your backsplash, its time to gather the other tools and materials you'll need for the installation process.
Perhaps the most important tool that you'll need is a tile cutter. Even the smallest tiles will require a few cuts to finish your backsplash pattern.
Check with your local hardware store to see if they rent out tile cutters. If you aren't likely to need to cut tiles again soon, renting can be a good way to save some money.
You'll also need mortar. This is what will seal your tiles to your wall.
You'll want to choose a thin-set mortar. If your mortar is too thick, your tiles will stick out from the wall. In addition to the mortar, you'll need a trowel. The trowel is for spreading the mortar.
The next material you'll need is spacers. These small white pieces will be placed in between your tiles as you begin attaching them to the wall. They keep your tiles spaced evenly apart while laying your pattern and before adding the mortar.
The final important material you'll need is the grout. While you won't see the mortar and the spaces will be removed before you backsplash is complete, the grout will be visible. Choosing the right color to match your tile is important.
A few other materials you'll want to have on hand are a bucket for mixing your mortar, and a sponge and warm water that you can use to clean up any grout or mortar that gets spilled or spread too far.
Prep Your Wall
Now that you've gathered your materials and tools and chosen your tile, its time to start prepping your wall for the new backsplash.
If your kitchen has wallpaper, you'll need to remove it in the area where you plan to place your backsplash.
If your wall is painted, but its peeling badly, you'll need to sand and smooth the wall first.
Any holes, dips, or other damage to the wall should be patched and sanded smooth before you start tiling it. Make sure that any repairs you've done on the wall have set in and the material is dry before you start your tiling project.
If you'll only be adding your backsplash to part of the wall, now is the time to finish the rest of the wall. If you'll be adding wallpaper or painting, it's better to do it before you start adding your backsplash with glass tile.
Trying to do so after you've added your backsplash with glass tile can be messy, and you risk damaging your new tiles.
Once your wall is ready, it's a good idea to clean it and allow it to dry. This can help you find any weak spots in the wall and to make sure that there isn't anything that may chip away when you start spreading the mortar.
Cover Your Area
Once your wall is ready, make sure to cover the rest of the area where you'll be working. Mortar and grout can get messy. You'll want to cover your countertops, sinks, and the floor near the wall where you're adding the backsplash.
Covering these areas will help keep those spaces clean if a spill does occur. While you could clean up small spills, when you're busy placing your tile, you may not notice a few stray drops of grout or mortar.
While you're covering up your workspace, you may want to cover up your good clothes as well. Installing a backsplash with glass tile can get messy, and can quickly ruin your favorite outfit. Stick to older clothes instead.
Prep Your Materials
With your area ready to go and your tile pattern laid out, its time to prep.
There are two ways to prepare your tiles. You could cut your tiles first, going by your pattern alone. But if you don't have prior experience with tile, it may be better to wait and cut as you go. This allows you to make adjustments if your pattern wasn't laid out correctly.
Next, prep your mortar following the instructions on the bag or bucket of mortar. With that, you're ready to start the installation!
Installing Your Backsplash with Glass Tile
Using a trowel, spread a thin layer of mortar on the space where your backsplash will go. Use the edge of your trowel to create mortar lines.
Starting at the top or bottom and on one edge of your backsplash, start placing tiles. Each time you place a tile, add spacers in between to keep them spaced out evenly. Wipe away excess mortar from your tiles.
Once your pattern is on the wall, allow the mortar to set for the recommended time.
Then, spread your grout, again following the manufacturer's directions. When your entire backsplash is covered, go back to the start and begin wiping away the excess grout.
Start Planning Your Backsplash Today
Now that you know what it takes to install a backsplash with glass tile, its time to start planning your own.
If you're ready to start shopping for the perfect tiles for your kitchen, check out our massive selection of tiles. We have glass tiles for every style, color scheme, and budget, and can help you find the perfect choice for your space.
<
