Kitchen Backsplash Tiles and More: DIY Home Upgrades
Posted by Mike Belk on Oct 06, 2016

Looking for a few easy ways to add pizzaz to your home? From kitchen backsplash tiles to using ribbons, we've got your easy DIY upgrades here.
DIY projects are our calling. There's an argument that we're a group of DIY nerds...ok, there's no argument:
We are a bunch of DIY nerds.
Don't call us with a physics question, but - if you need advice about kitchen backsplash tiles we've got you covered.
When we're not selling DIY supplies, we like to help out our friends become DIY experts too. We realized keeping the knowledge between friends was doing a disservice to our customers, and our blog was born.
But enough backstory, let's get to the good stuff. Our brightest minds have put together a little list of the best DIY home upgrades for any skill set. Get ready to put the local handyman to shame.
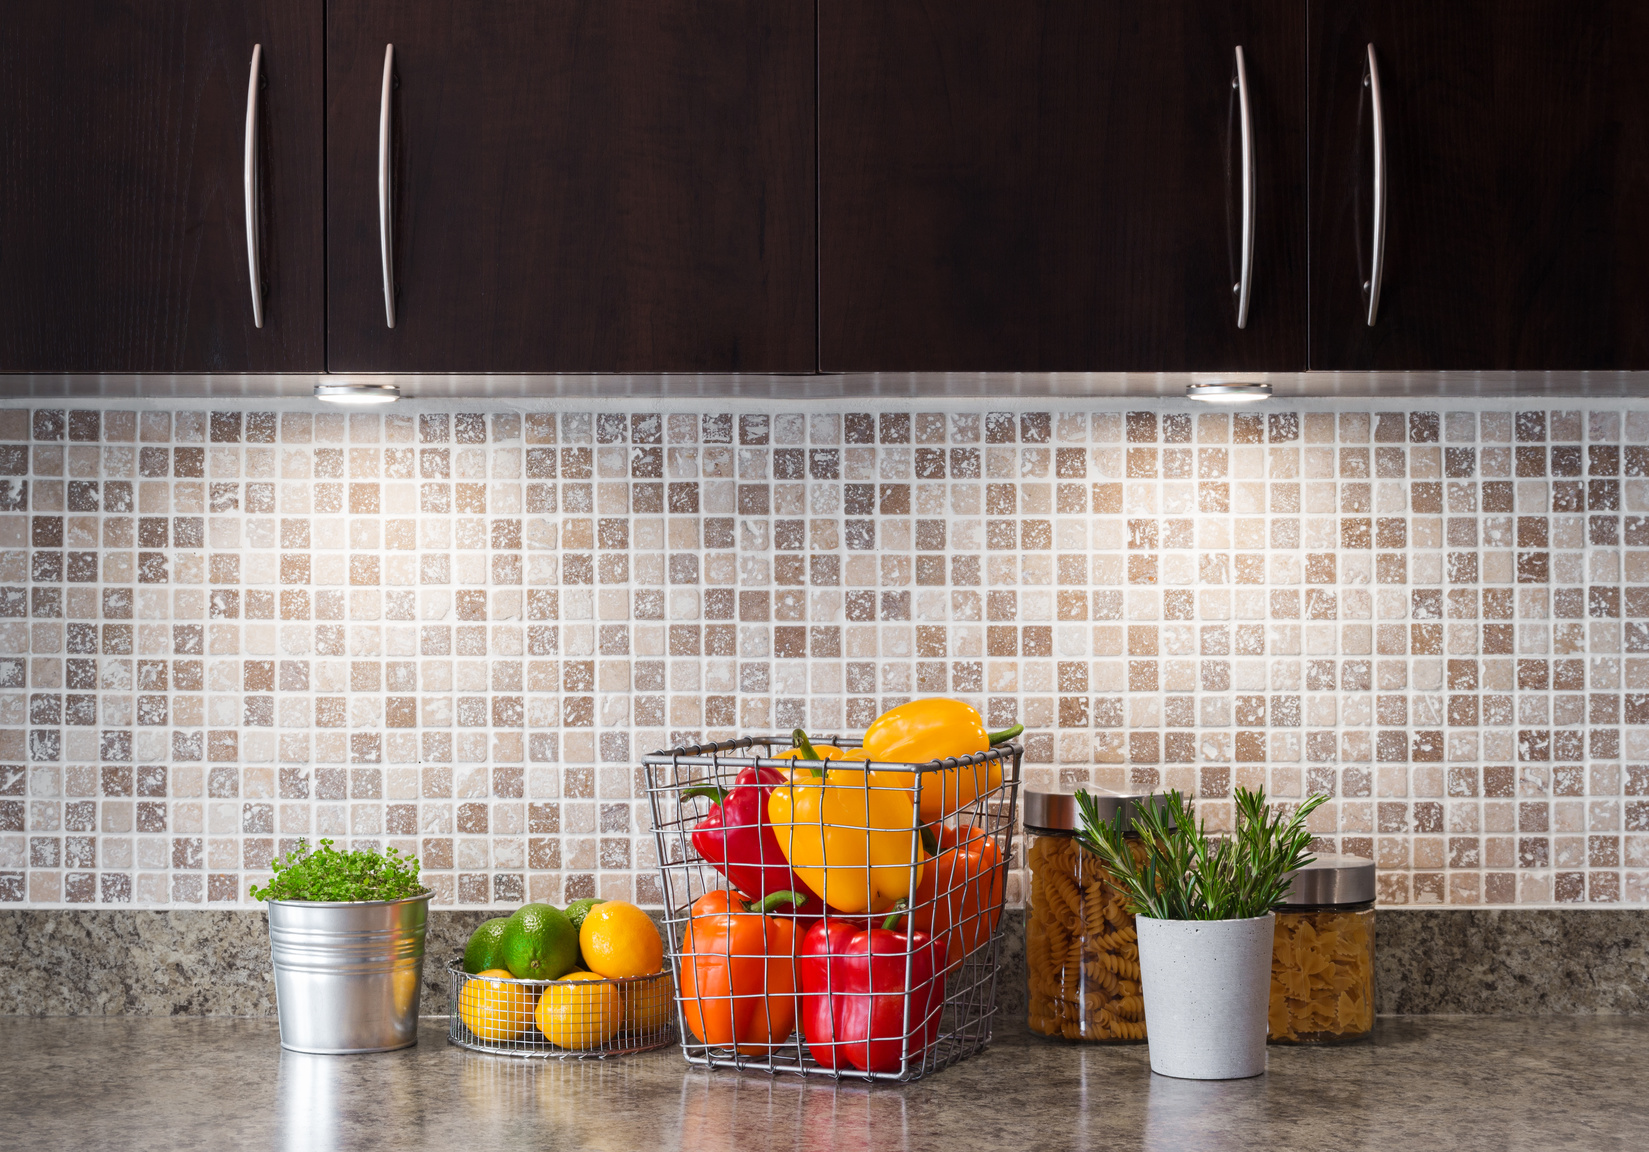
Decorate With Kitchen Backsplash Tiles
Yeah, yeah, we know. Tiles, of course, tiles. What can we say, when you're an expert on tiles, you write about tiles.
Backsplash tiles keep the wall behind your sink from succumbing to water damage. They're way more important than people give them credit for.
They can also be downright ugly if you're not aware of your options. Style trends are always changing, and what looked great for the previous owner (or maybe you're just ready for something new) might not be right for you.
We like to think outside the box when it comes to creating a backsplash. You'll want it to match the rest of your kitchen, but it can also stand out.
Glass tiles are a great way to add a unique flair that's not often seen. They're installed in the same way as conventional tiles, and available in a variety of patterns and designs. If you can't find what you're looking for, they also look nice when painted.
If you're not into glass tiles, look into natural stone tiles. Each tile is unique and has its own characteristics that are one of a kind. They can be so striking that we recommend basing your kitchen design on the tile, and not the other way around.
DIY network has a great video explaining exactly how to install a kitchen backsplash. The process is essentially this:
-Remove your old tile
-Make sure the drywall is structurally sound
-Cut your tile
-Apply the mortar to the wall
-Apply the tile to the wall
-Finish with grout work
The video goes into much more detail and makes a good visual aid.
Revamp Your Fixtures
We continually see otherwise great looking homes with old fixtures. We're talking handles, door knobs, faucets, and the like. They're easy to replace and can help bring a cohesive feel to your home.
Since we're on a kitchen theme, we'll start there.
A screwdriver and time are all you need to replace your kitchen cabinet handles. Most people stick with neutral colors that match their cabinets, but we like to switch things up. Think about installing handles that match the rest of the room. Consistent fixtures throughout a room create cohesion.
Cohesive fixtures also extend to your faucet and doorknobs. There are two ways to go about getting them in line with the kitchen's overall theme.
The first is a coat of paint. If their style matches and it's just a matter of color, paint is probably the best option.
The other option is purchasing new fixtures that match the other hardware in the room. Doorknobs are easy to replace, but faucets take a bit more work.
If you do choose to change out the doorknobs, just grab that screwdriver again.
For the faucet, you'll need a wrench and bucket. Turn off the water lines under your sink and unhook them from the faucet. Disconnect the P-trap and use your bucket to catch any water left in the pipes. Once you've unhooked the faucet, just follow the instructions provided with your new hardware.
Concrete Countertops
Most people don't realize that concrete works just as well as marble for a countertop surface. The material is versatile, and can be colored, overlaid, or textured.
Concrete is also durable. Our goal here is to end with a material that matches the rest of your kitchen, but that's also worth the DIY effort.
Your first step in creating a concrete countertop is to create a mold to pour your concrete into. Measure out how large of a countertop you'd like and use wood to build a frame in the shape you desire.
Next, we pour the concrete. Spread it out even and flatten it before letting it sit for a few days.
The third step is to add any color or texture and then seal your countertop. Acid stains, dyes, and powdered pigments all work to add color and even intricate designs to your counter.
Now, install the countertop and you're done!
Install Some Wall Storage
Many people don't realize that you can drill through tile with the proper equipment.
A diamond drill bit will let you bore holes through your tile backsplash and into the drywall behind it. This sets up the opportunity for installing storage hooks.
Every kitchen is low on space, and storing knick knacks or other frequently used items on your back splash leaves cabinet space open for larger items.
To get started drilling, first, stabilize your drill against the tile. Any contact with the surrounding tile can leave unsightly scratches. A block of wood works well for this.
The actual drilling process is simple. Keep the drill bit wet to prevent it from overheating and wearing or breaking down. Use moderate pressure and drill speed to penetrate the tile. Once you're through the tile surface the rest of process is the same as drilling wood.
Hopefully one of our ideas has sparked some DIY creativity within you. We think our list covers a variety of skill ranges for beginners and experts alike. With any home upgrade, it's important to understand your project and work within your skill level to ensure your process is safe and your finished product is of high quality.
If you're looking for a place to buy items for your DIY projects, look no further. We sell high-quality kitchen and bathroom remodeling supplies for reasonable prices. We also like to think our tile selection is one of the best around. Though, we'll let you be the judge of that.


